To make Account Page Settings go to Settings > Account Page:
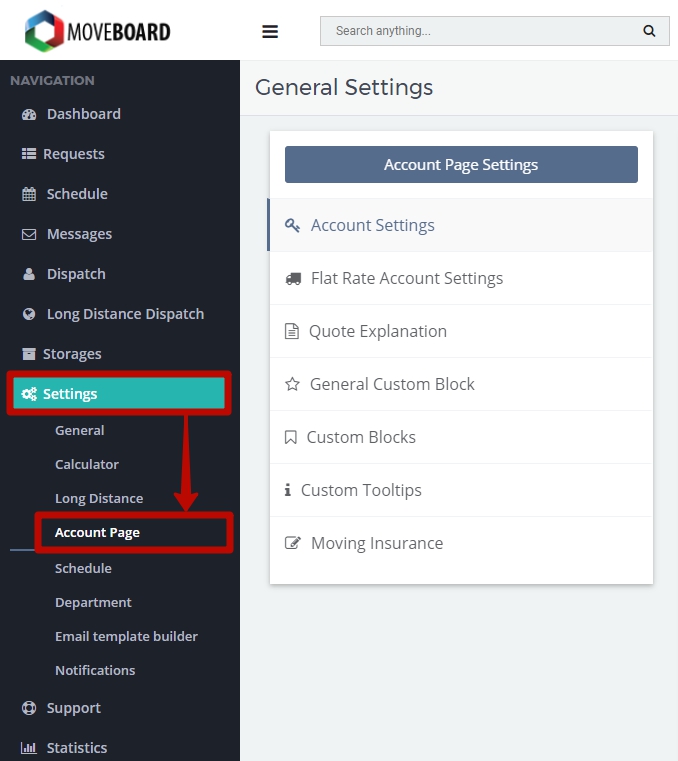
There are several tabs that you have to make settings for:
- Account Settings;
- Flat Rate Account Settings;
- Quote Explanation;
- General Custom Block;
- Custom Blocks;
- Custom Tooltips;
- Moving Insurance.
 To learn about Account Settings and General Custom Block, read Designing Account Page.

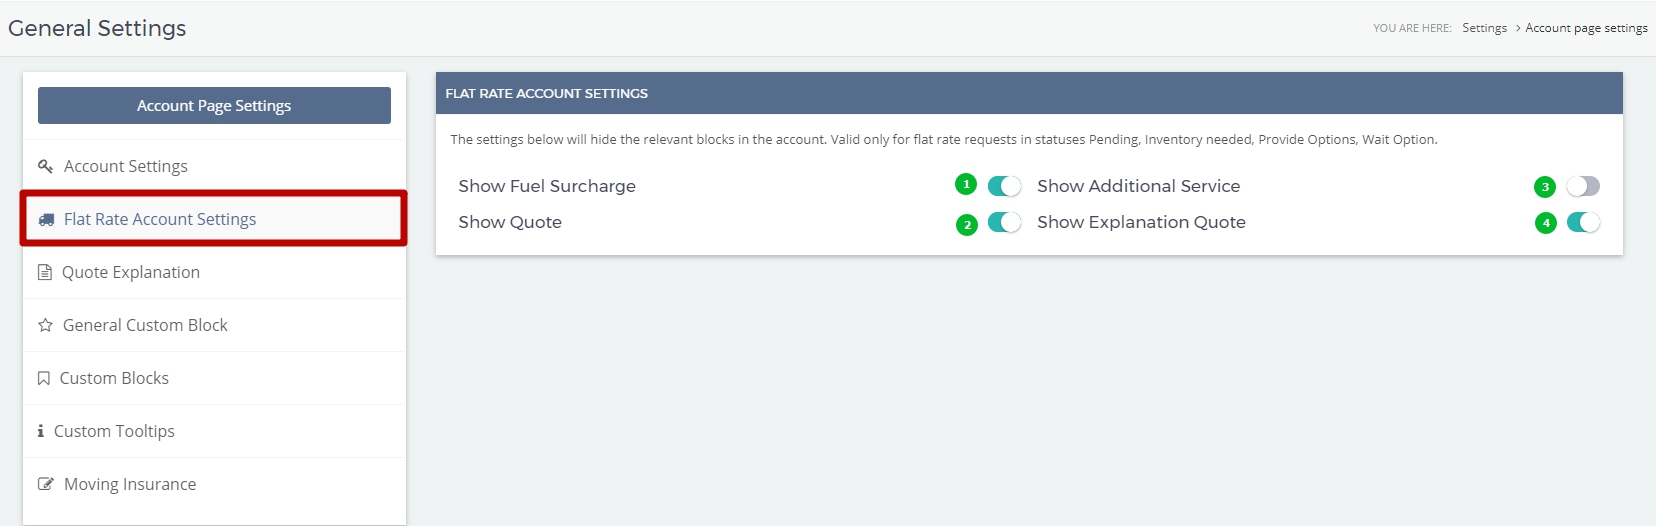
1. Flat Rate Account Settings
In this section there are 4 relevant blocks that can be shown or hidden on your Client’s Account Page. They are valid for Flat Rate Requests in statuses Pending, Flat Rate (Inventory Needed), Flat Rate (Provide Options), Flat Rate (Wait Option):
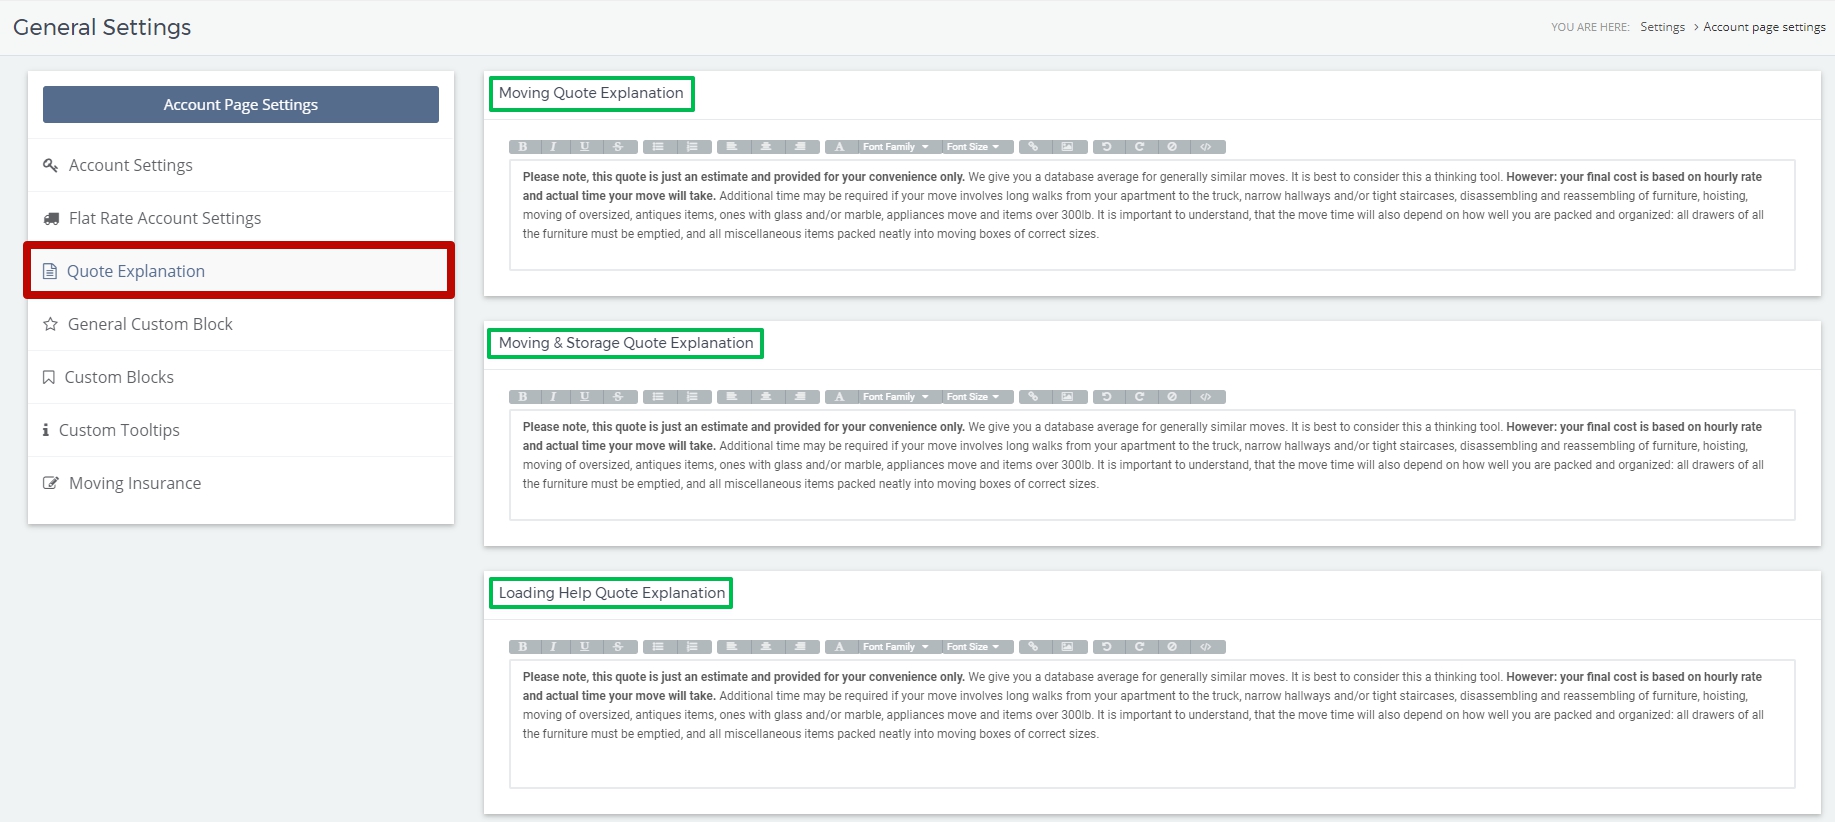
2. Quote Explanation
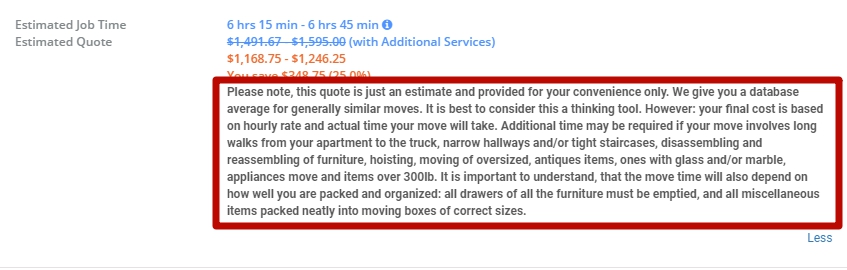
Here you can give your own Explanation of a Quote for all types of Services you provide:
The Clients on their Account Page see it in the following way:
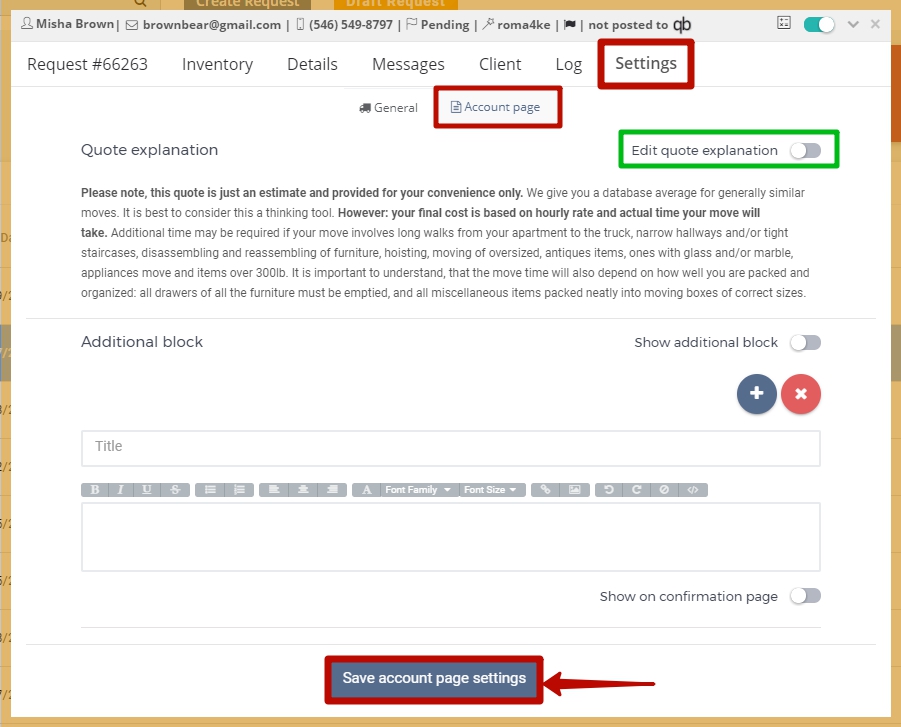
![]() NOTE: You can also edit quote explanation if it is different from a regular one for a specific Request.
NOTE: You can also edit quote explanation if it is different from a regular one for a specific Request.
To do this go to the Request Form > Settings > Account Page. DO NOT FORGET to click on Save account page settings:
3. Custom Blocks
Custom Blocks Settings give you a possibility to specify information for each type of service you provide (Local Move, Flat Rate, Long Distance, etc.) at each stage of a Request (Pending, Not Confirmed, Confirmed Requests) and depict it on your Client’s Account Page:
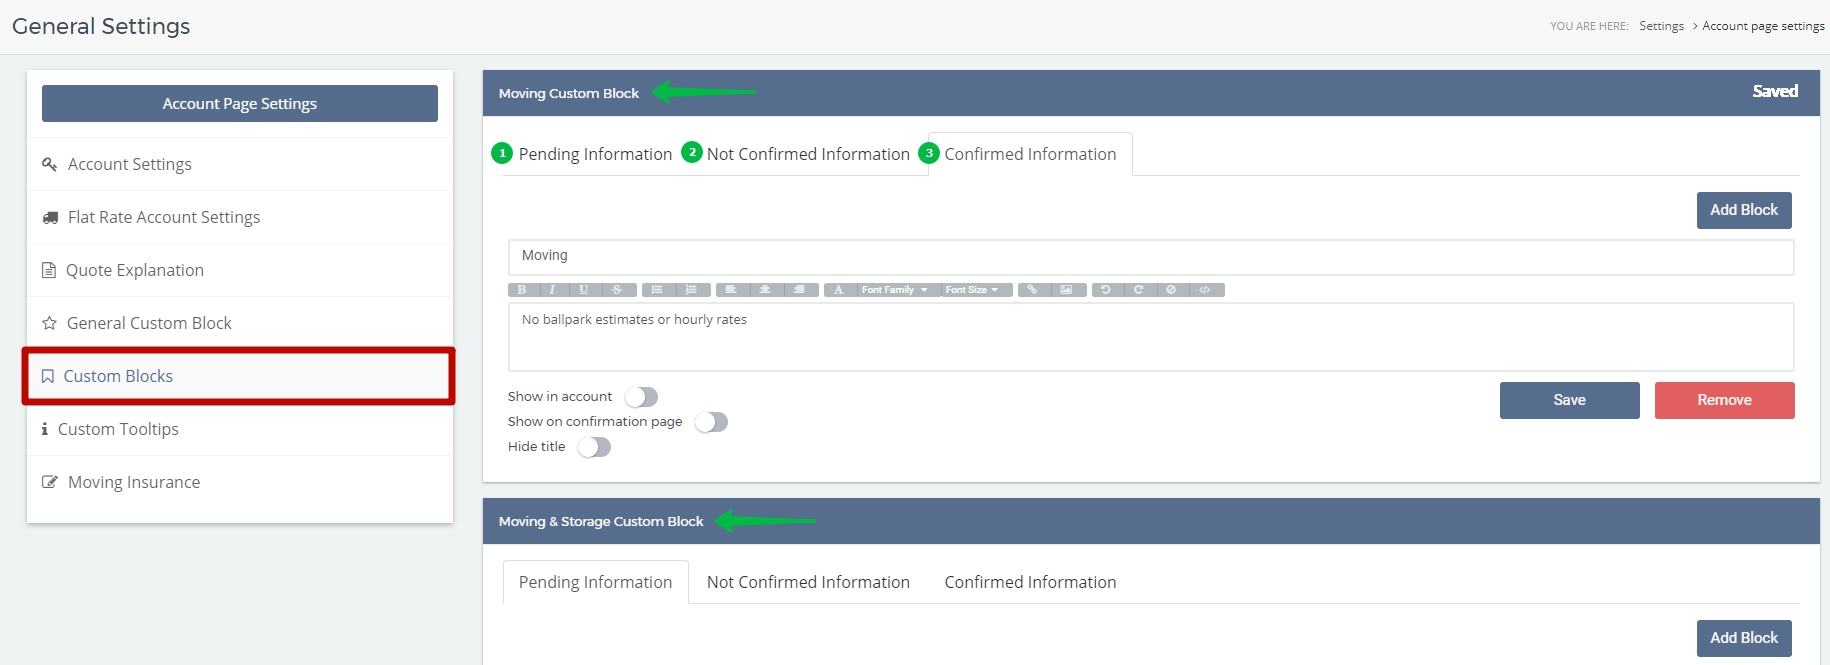
To create a Custom Block:
- Choose the necessary type of the Block you want to create (for instance, Moving > Confirmed Information);
- Click on “Add Block” (if there is no blank one);
- Add the title of the Block (if needed);
- Add the necessary filling of the Block (a text or an image);
- Make “Show in account“, “Show on confirmation page“, “Hide title” Settings;
- Click on Save:
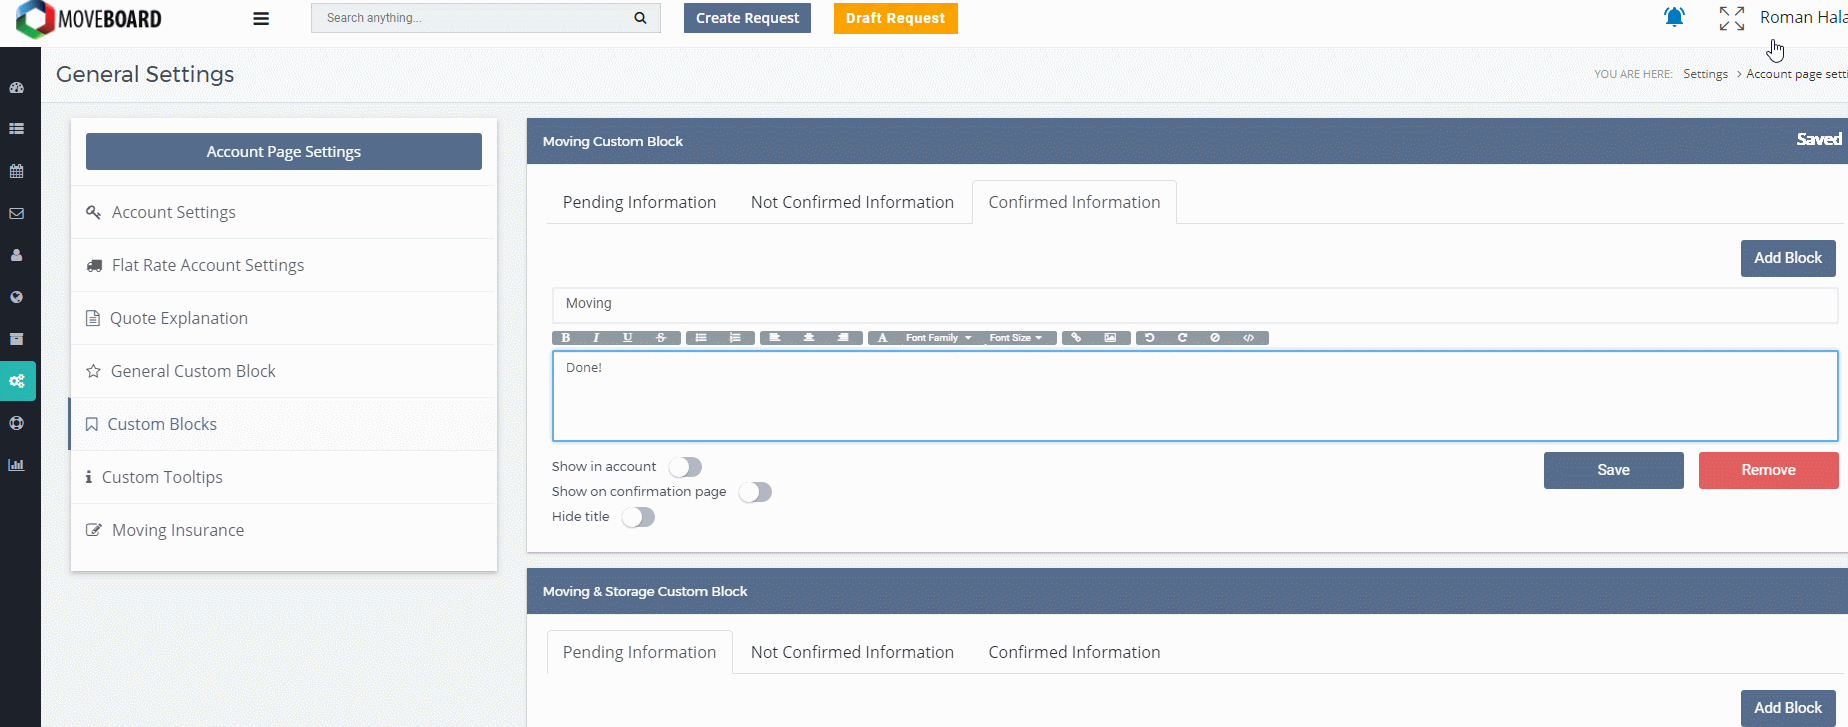
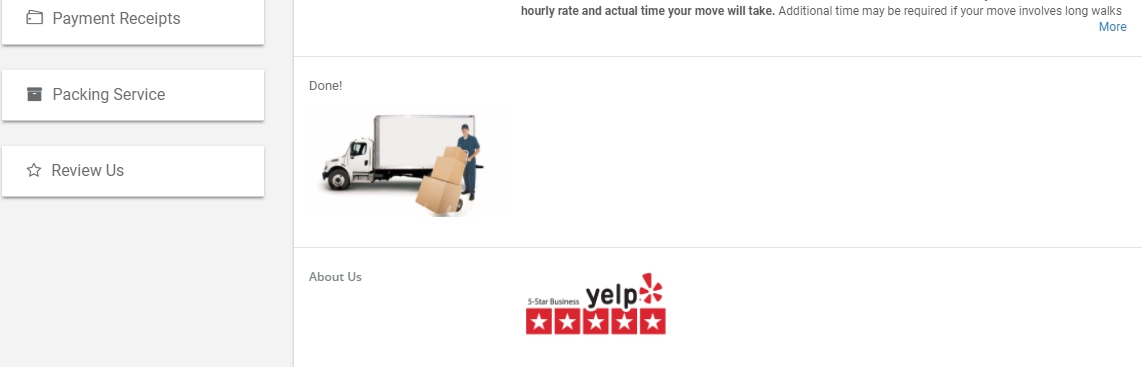
The Client’s view of it will be the following:
 What is the difference between General Custom Block and Custom Blocks?
To learn the difference CLICK HERE.
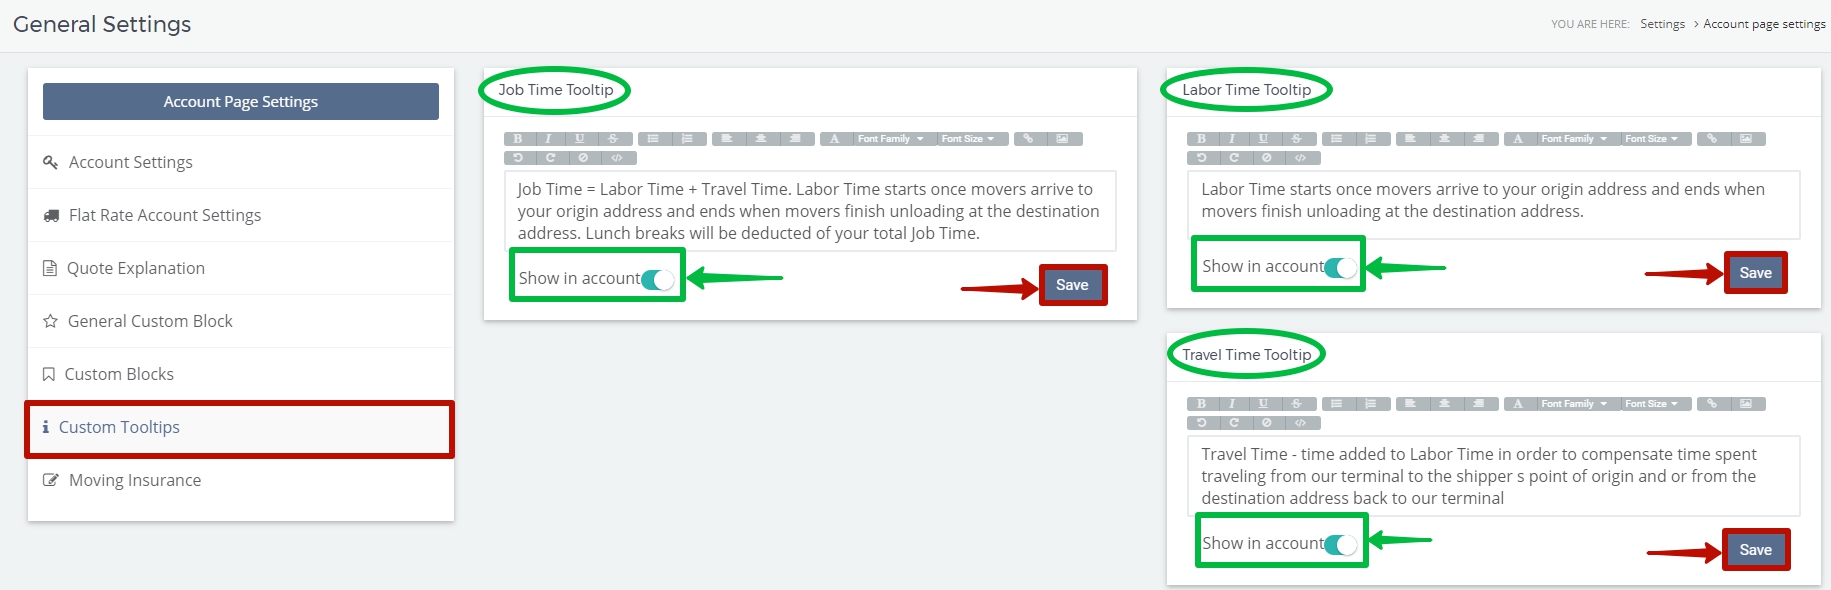
4. Custom Tooltips
Here you can give commentary on or explanation of the notions that may be unclear for your Clients.
- Add the text or images you need;
- Turn on the function “Show in account” (if needed);
- Click on Save:
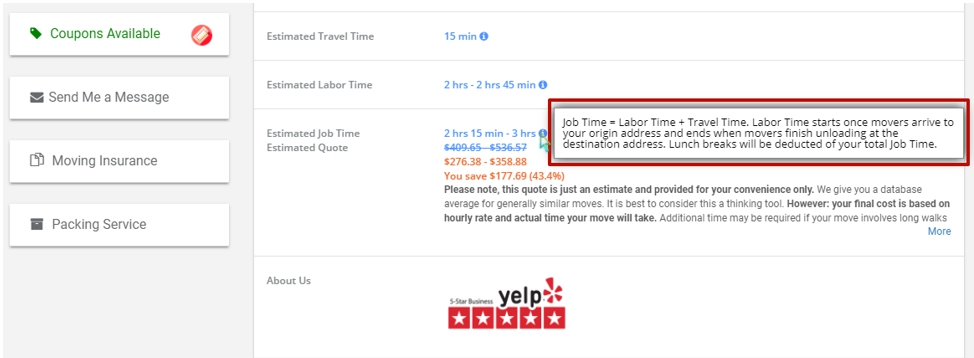
As a result, your Clients will see the explanation on their Account Page right away when they place the mouse pointer on the icon “information” as it is shown below:
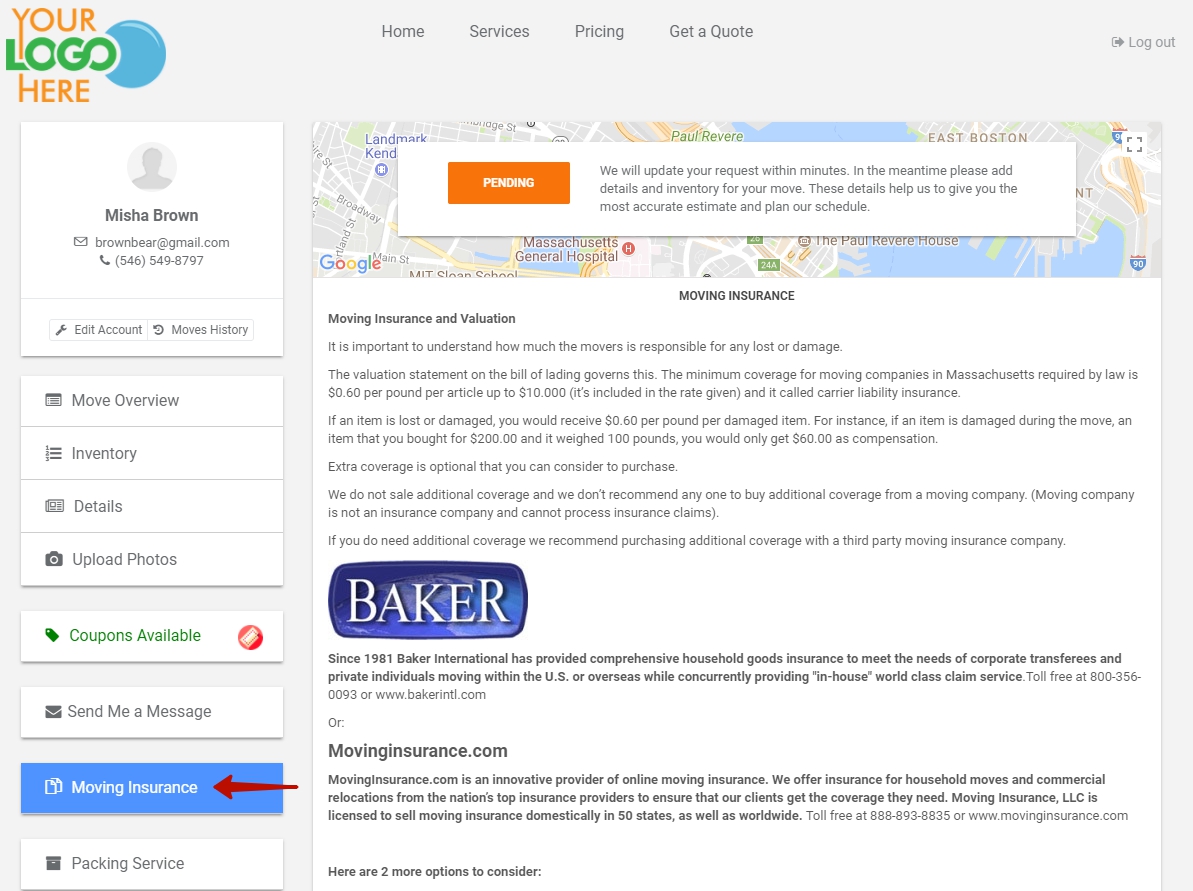
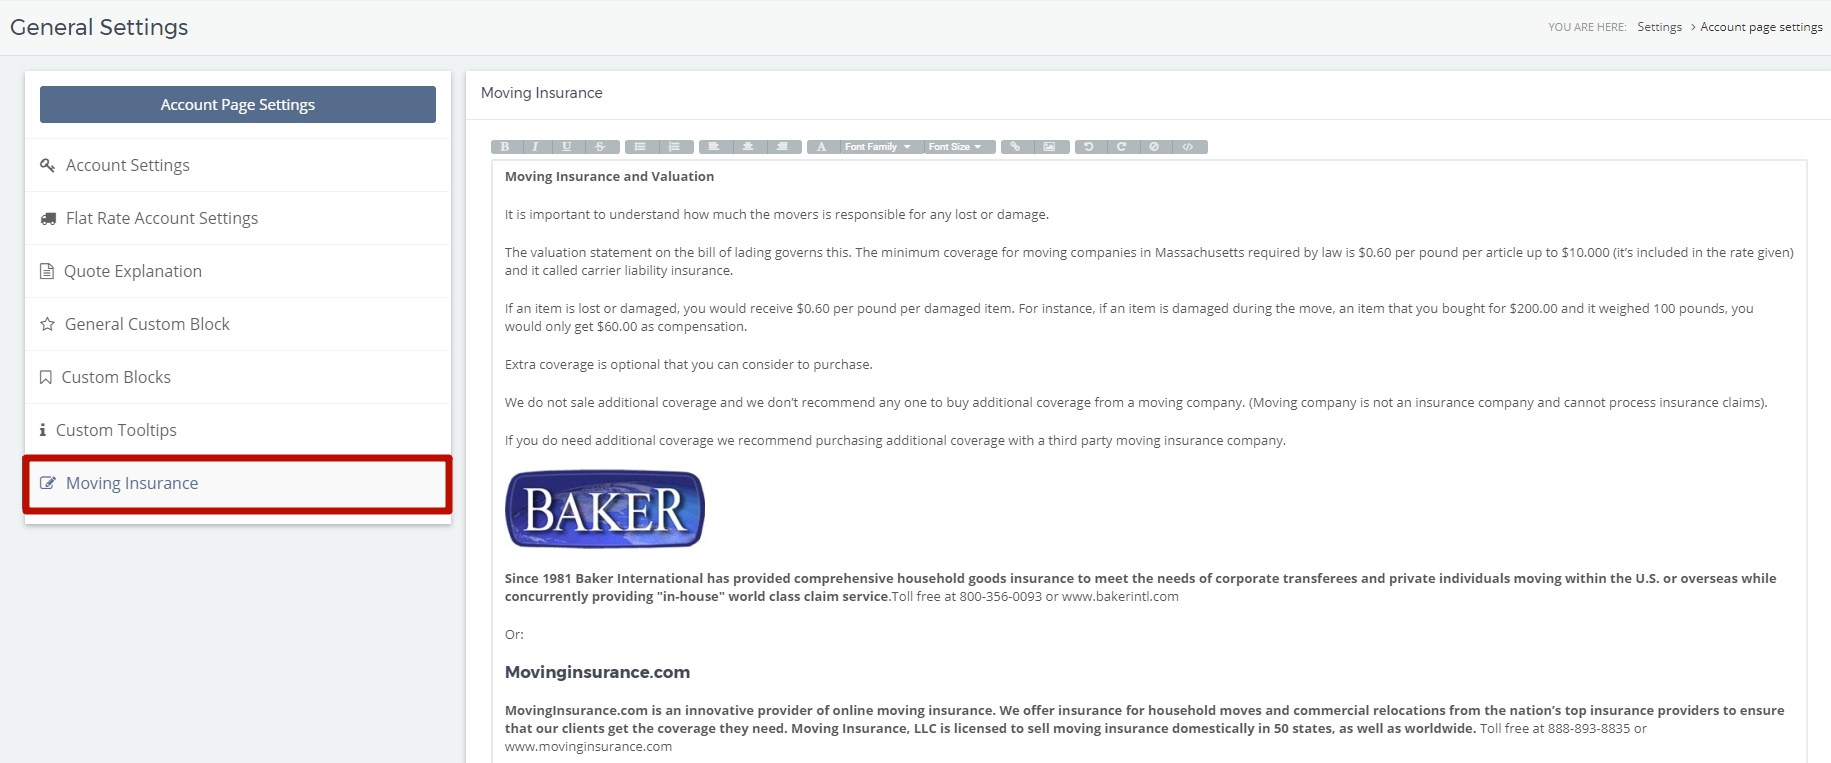
5. Moving Insurance
You can edit the text on Moving Insurance in accordance with your preferences:
Your Clients can find and read it on their Account Page when clicking on “Moving Insurance”: