Quickbooks integration allows our software to automatically create Sales Receipts in company Quickbooks accounts for each payment made through the software. The setup is pretty straightforward, all you need is the Quickbooks Company ID and Quickbooks login credentials.
Connection
The first step would be to set up the connection by going to General Settings -> Quickbooks in the MoveBoard.
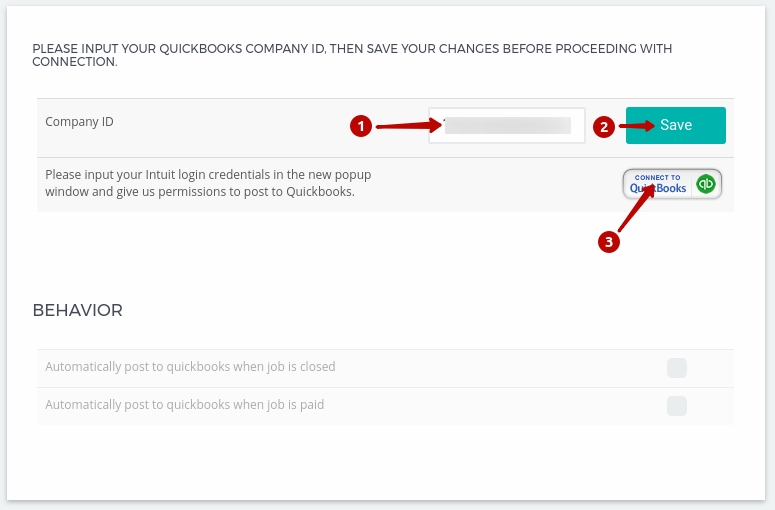
- Input your ‘Quickbooks Company ID’ into this field.
- Click ‘Save’ to save your changes
- Click ‘Connect to Quickbooks’ button, which will open the popup in the following screenshot.
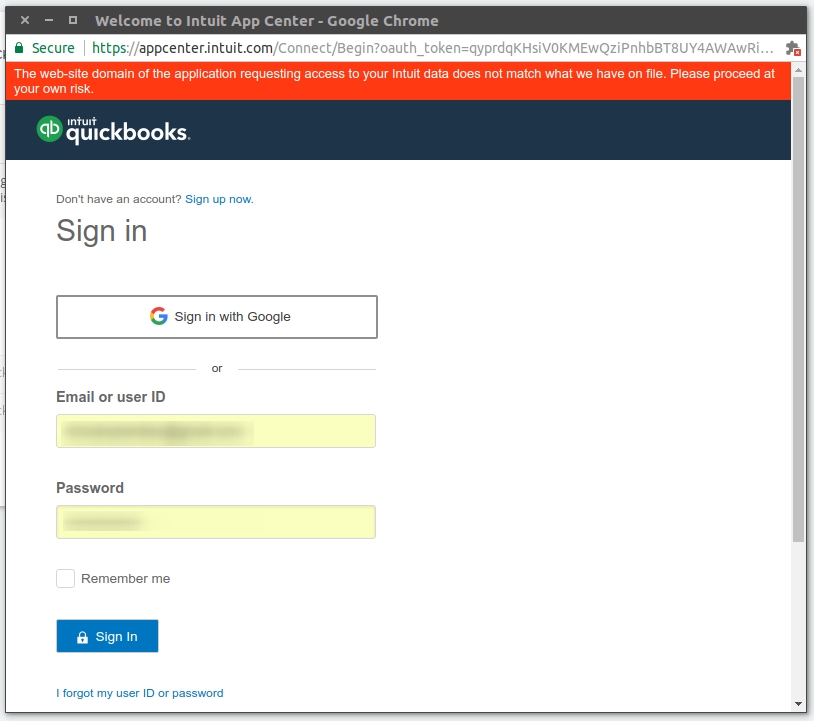
- Sign in with your Quickbooks login credentials.
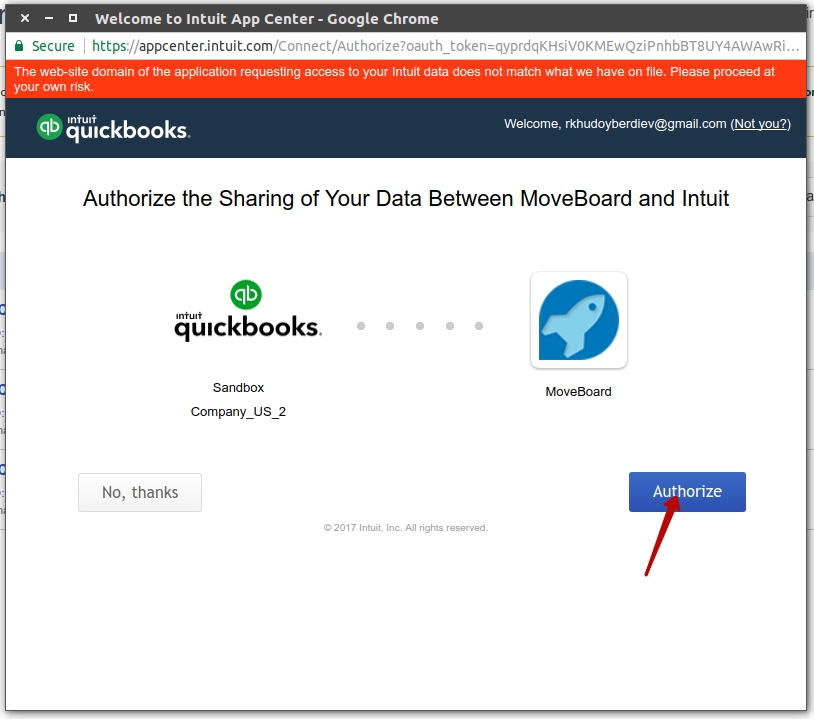
- Finally, click on authorize button. If the authorization is successful the popup will close and you will return to the Quickbooks settings and the window will look like the following screenshot. It means that you have successfully connected to Quickbooks. The view has slightly changed and now you should be able to see the ‘Disconnect’ button as well. Disconnect button can be used to stop posting to Quickbooks or to turn off this service. Note: Quickbooks connection lasts for six months after the initial connection, so the connection will automatically drop and you will need to repeat the connection process after six months. In order to avoid this, 5 months after the initial connection ‘Reconnect’ button will appear to allow reconnecting to Quickbooks without service disruption.
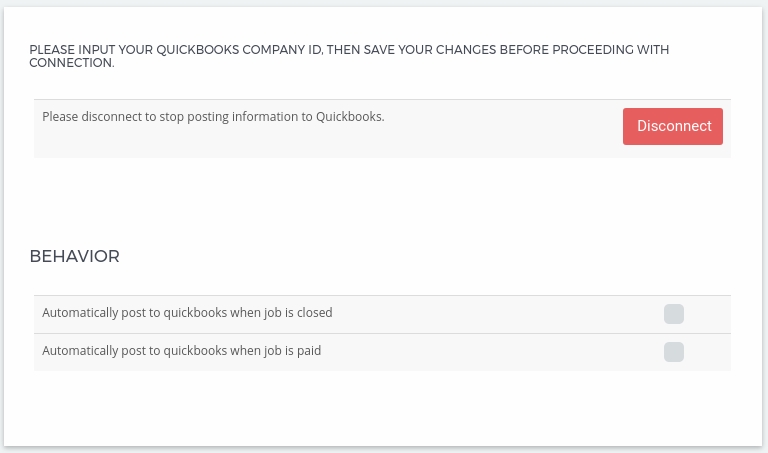
Behavior
As you can see from options right below the Behavior title, there are two ways in which receipts are posted to Quickbooks:
- If you check “Automatically post to quickbooks when job is closed” option, payment information for a request will be transferred to your Quickbooks account at the moment when the job is closed or contract submitted.
- Else if you choose “Automatically post to quickbooks when job is paid”, every time payment is made on the request it will automatically create a Sales Receipt in your Quickbooks account.
As soon as you choose one of the behavior options, Quickbooks integration should start working accordingly.
Bulk Post Option
Imagine that you need to bulk import payment information into Quickbooks. Luckily, in addition to behavior options above, we also have a bulk post option available.
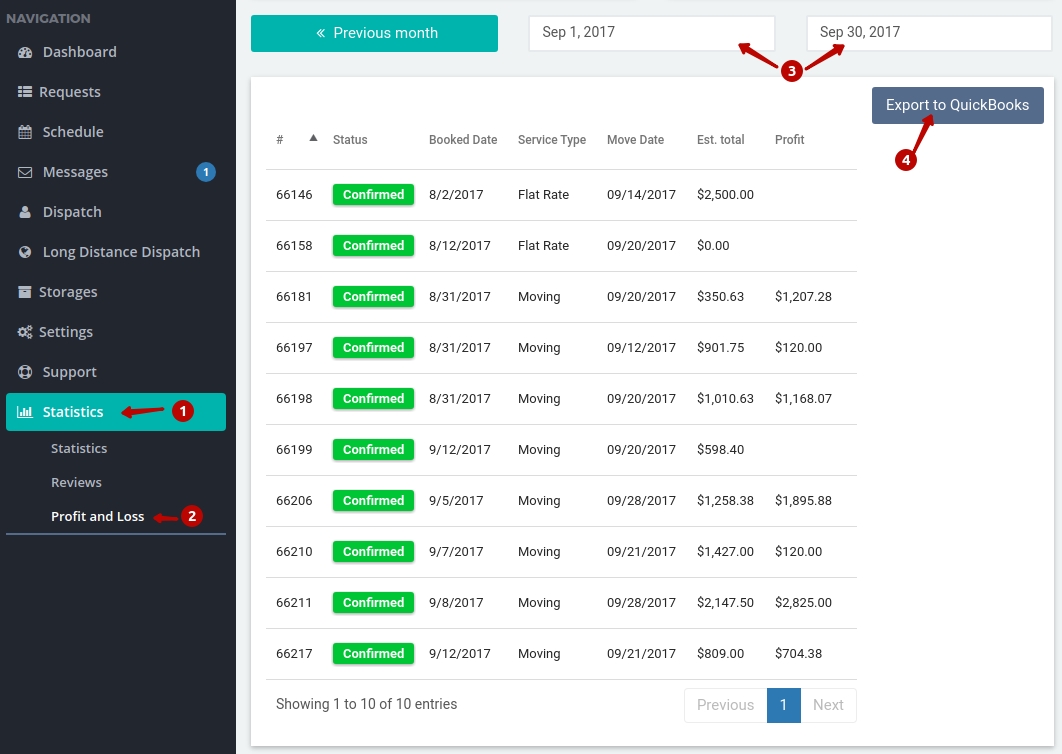
- Click on ‘Statistics’ in menu options of MoveBoard.
- Click on ‘Profit and Loss’.
- Here, you will need to select the dates in order to filter the requests with move dates in between.
- Finally, click on ‘Export to Quickbooks’ button to export payment information for the selected 10 requests in our case. Now, it should give you a success message saying that you started exporting to Quickbooks. Note: Bulk Post option may take a while to finish exporting all the requests. It may take up to 24 hours to finish exporting all your requests, so please be patient.
Post Results
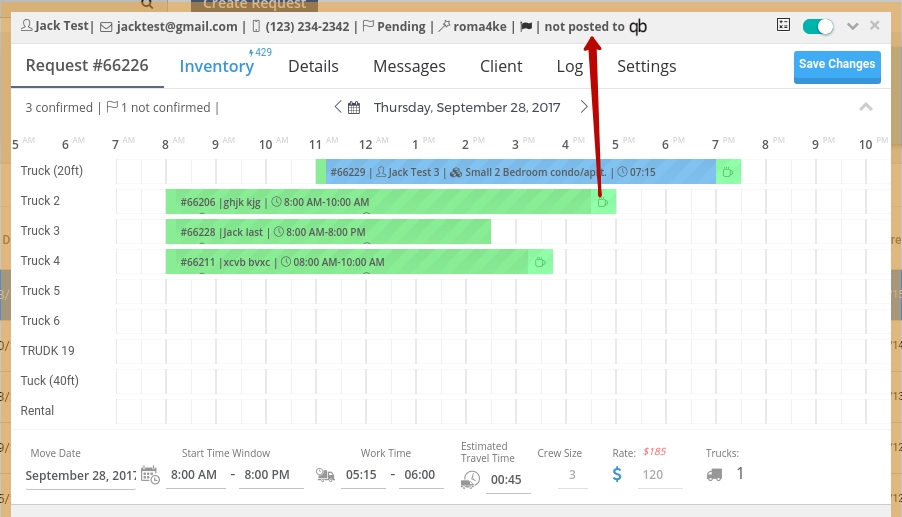
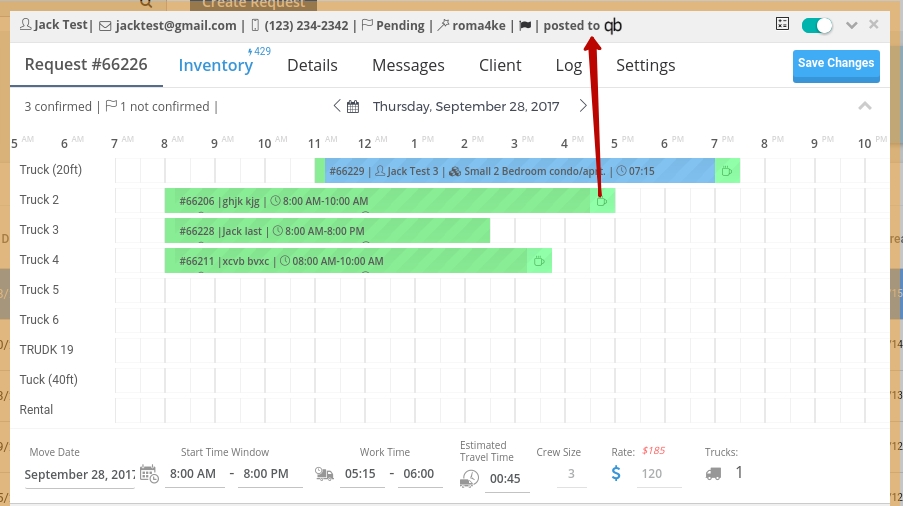
Now, you may be wondering how can you see if the payment was posted for a particular request. As soon as you connect Quickbooks in our settings, Quickbooks status text will appear for every request in three possible variations:
- First post status is “not posted to qb”, which means that none of the request payments are posted to Quickbooks.
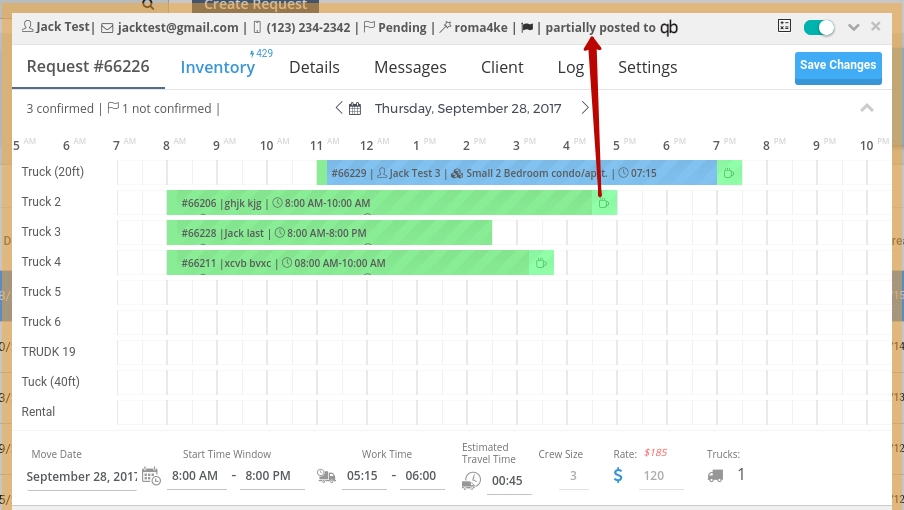
- Second post status is “partially posted to qb”, which means that some of the payments are posted to Quickbooks, while some of the payments are not posted.
- Third post status is “posted to qb”, which means that all payments are posted to Quickbooks.
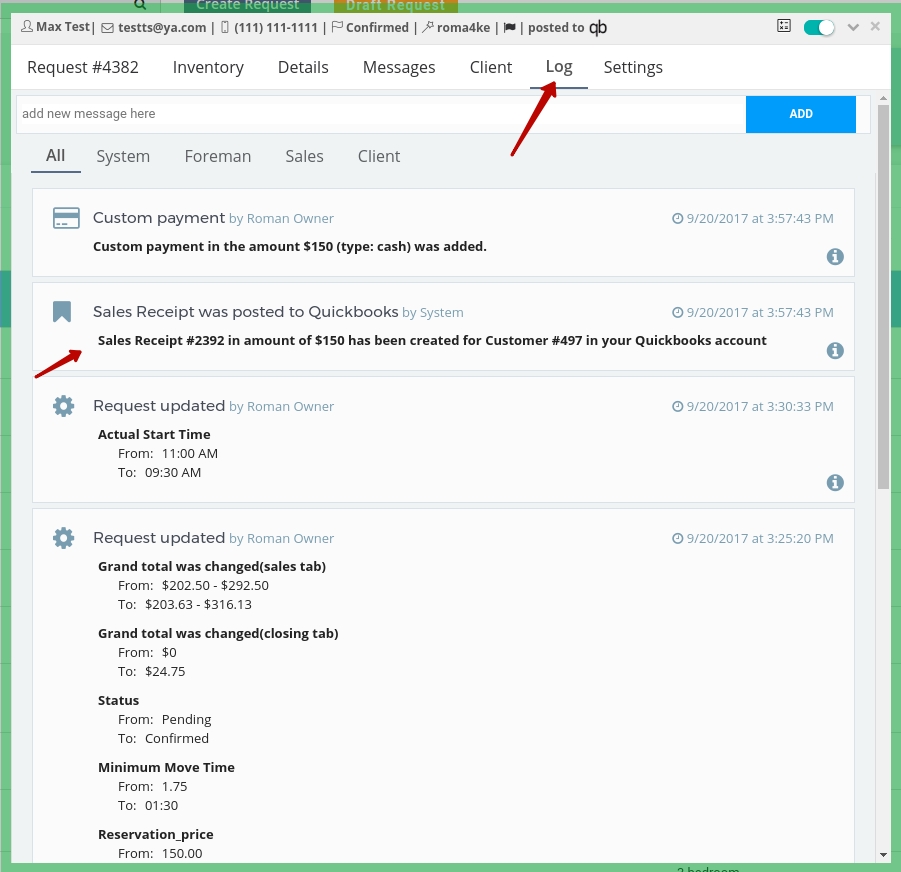
In addition to the above methods, you can also click on the request Log to find “Sales Receipt was posted to Quickbooks” log titles for every payment posted to Quickbooks.