Since the workflow in the MoveBoard and your communication with the Clients are mostly based on Notification Emails, there is a way in our software that lets you Create your own and Edit the already existing Email Templates.

To do this go to Settings > Email template builder:
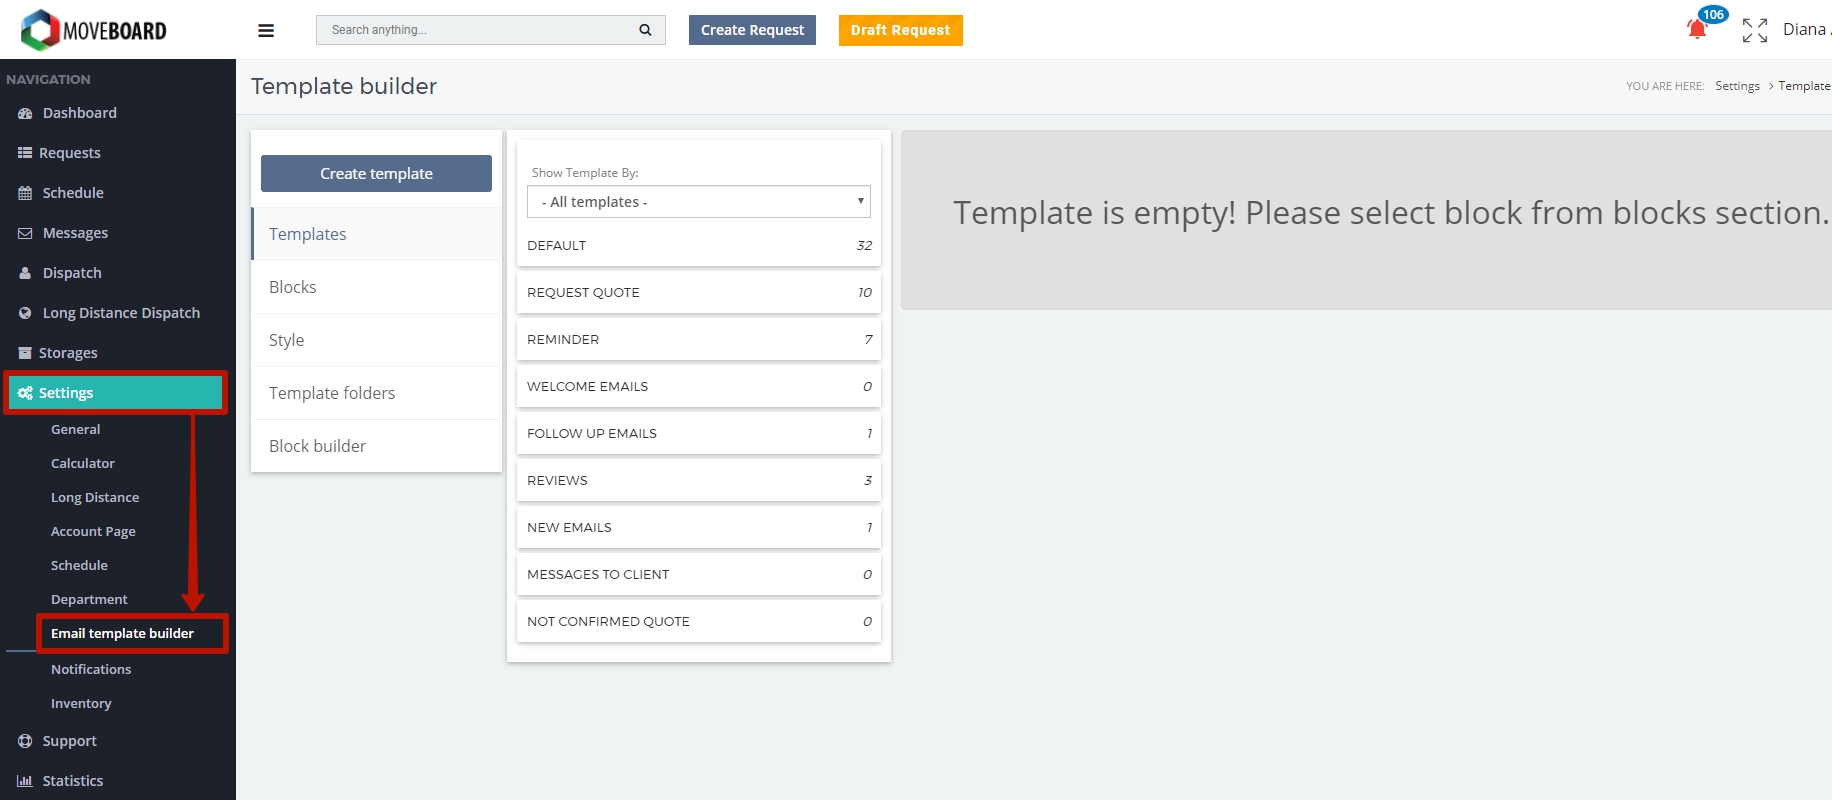
Email template builder consists of several subsections:
- Templates;
- Blocks;
- Template folders;
- Block builder.
Templates
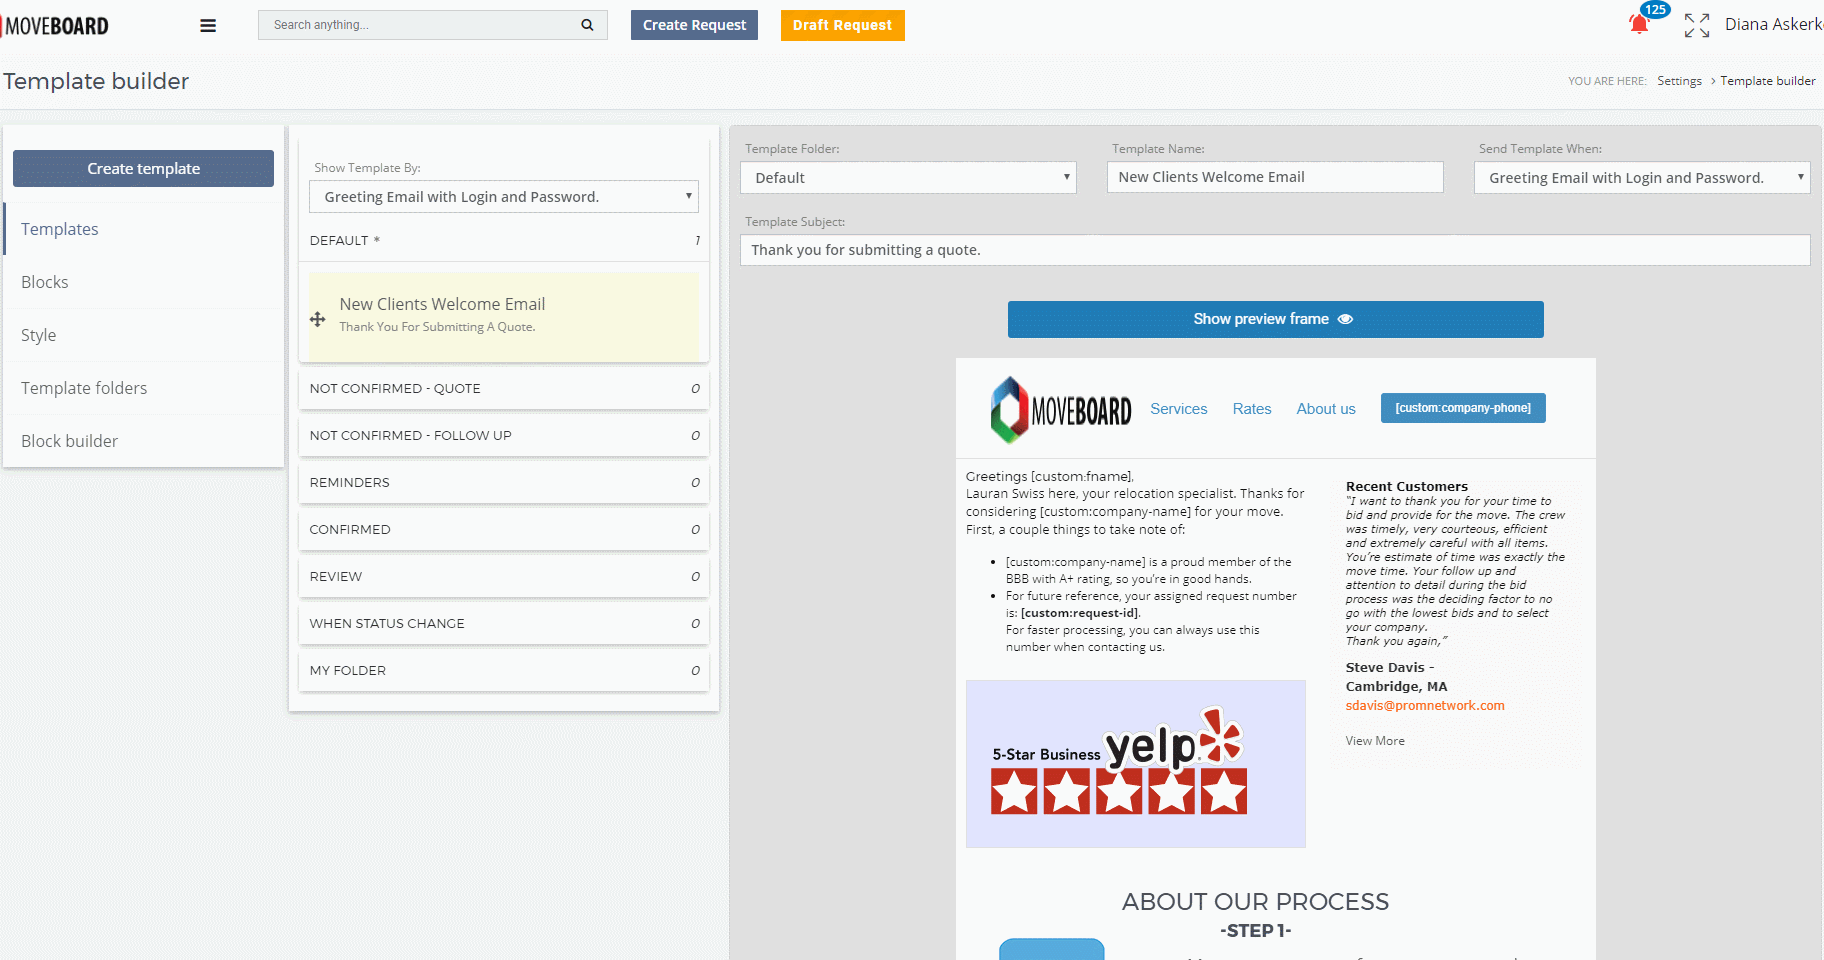
This tab is actually a database where you can see and edit (if needed) all your Templates:

To look through or edit a Template you should:
- Click on the drop-down box “Show Template By”:
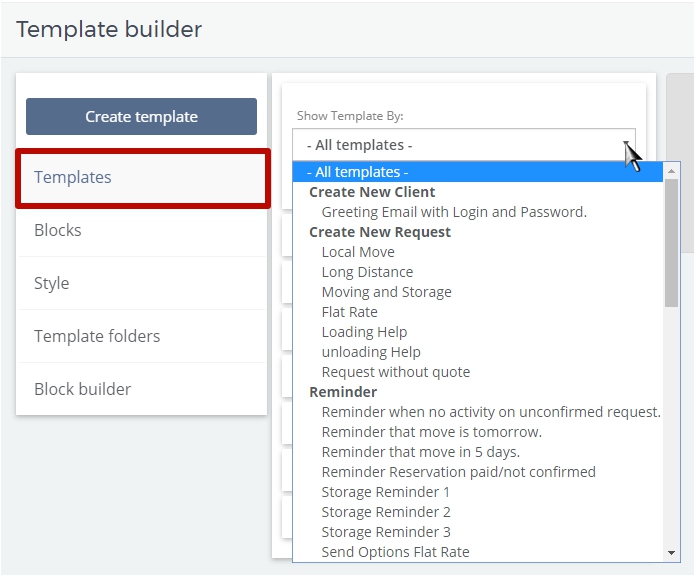
- Choose the category you are interested in:
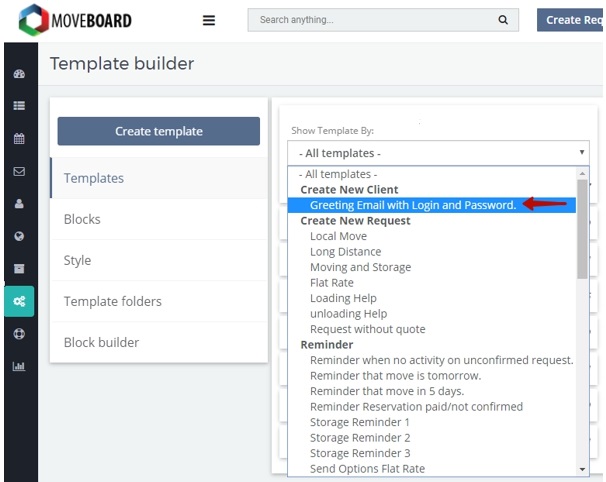
- Open the folder with the Template needed:
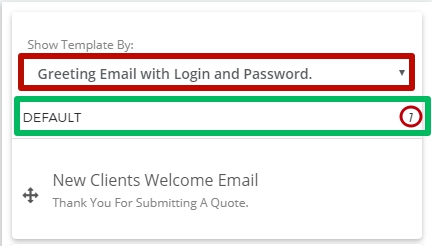
- Click on “Edit”:
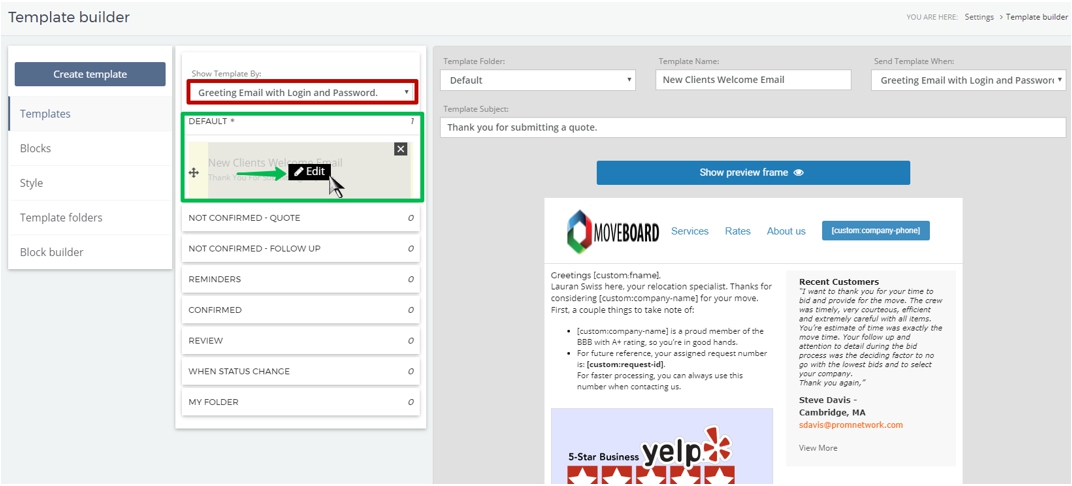
In settings for a Template you can Edit:
- Template Folder (choose a folder from the existing one by default OR create your own);
- Template Name (write the one which is more convenient for you if needed);
- Send Template When (choose when it will be automatically sent OR not to send it automatically);
- Template Subject (your Client will see it in the Subject Line when receiving a Notification Email):

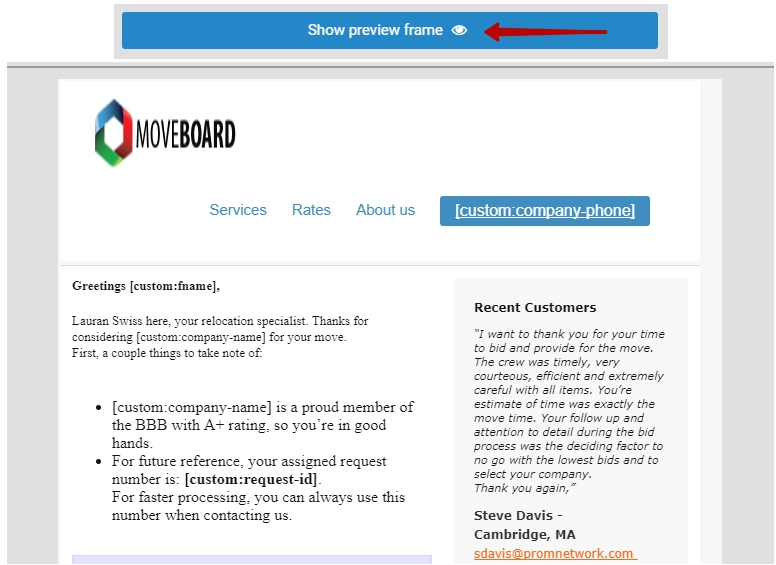
You can also click on “Show preview Frame” and see how your Email is going to look as a whole:
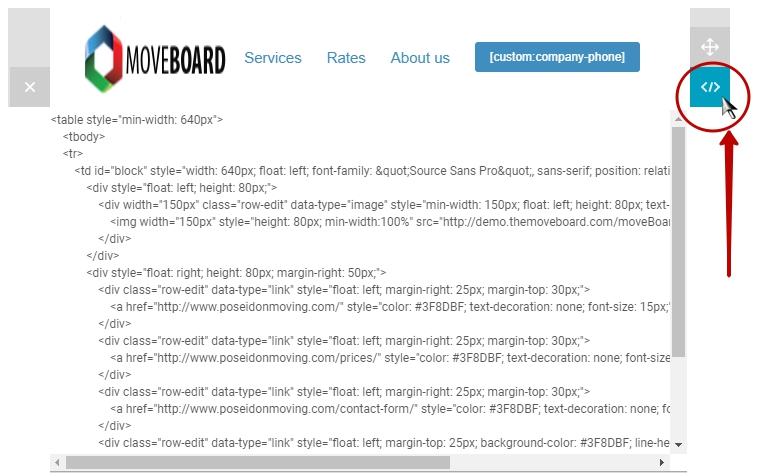
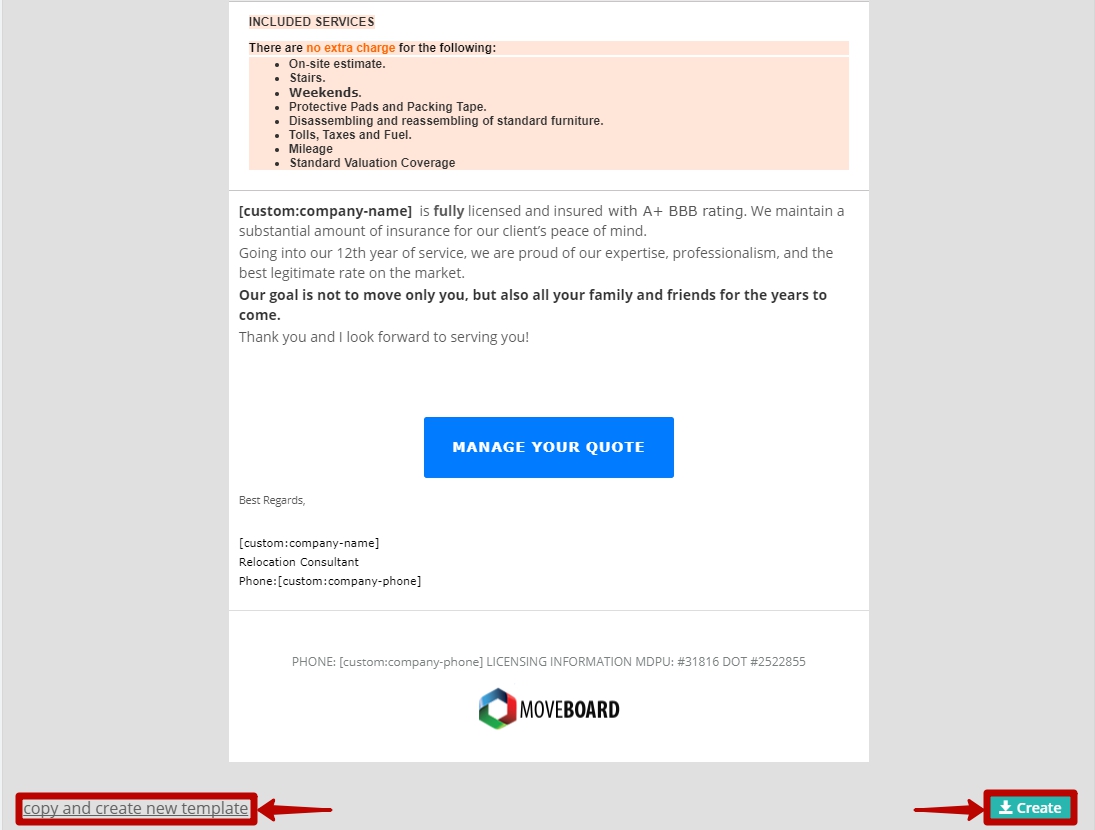
You can make all possible changes in the content of a Template, for instance:
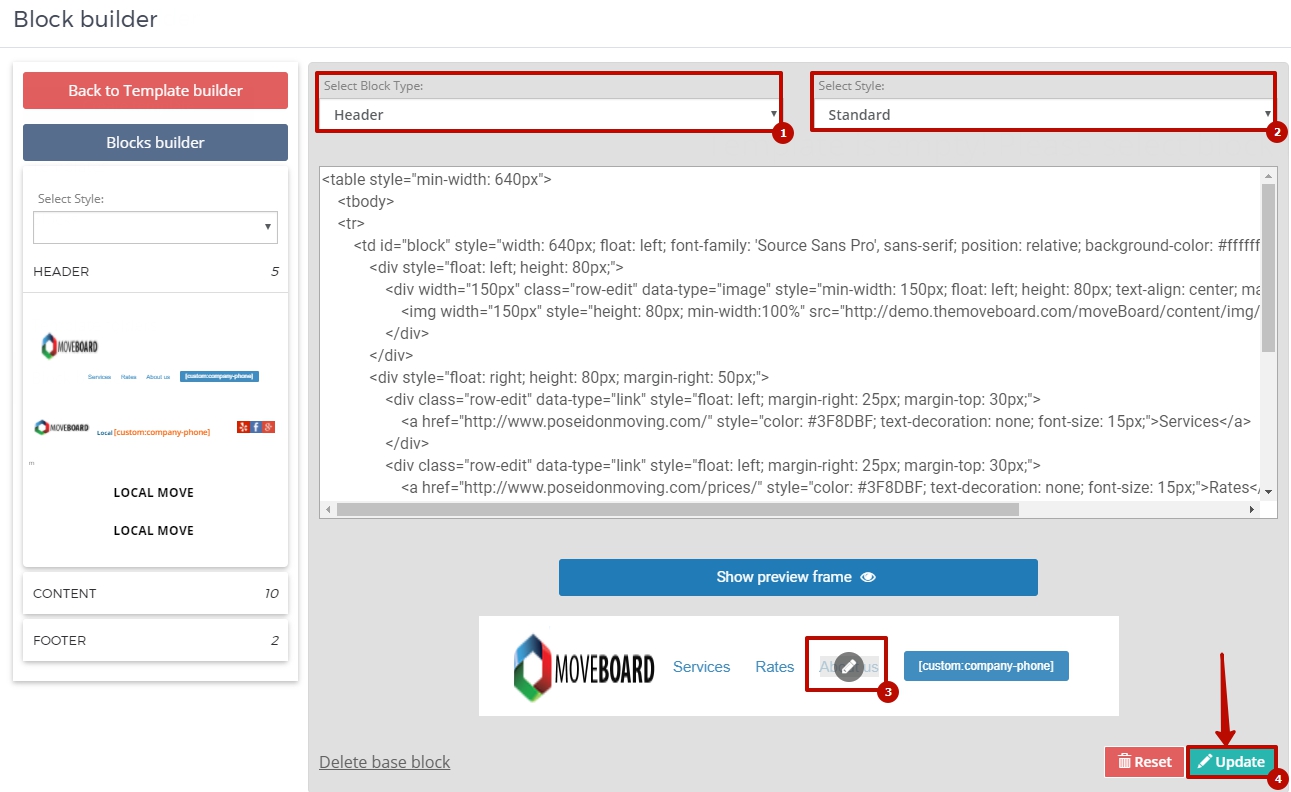
- see the html code of the block and make some changes if needed:
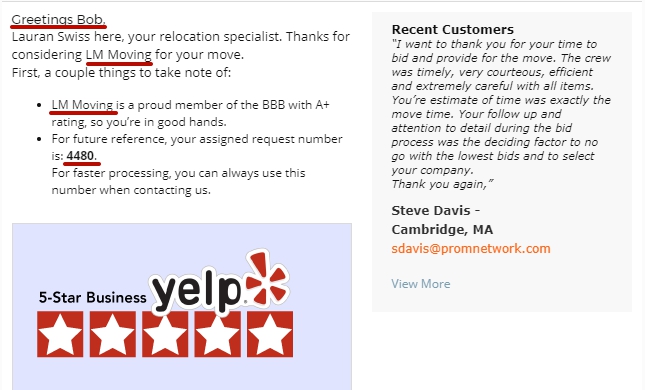
- change the text and Email Template Variables that will automatically add exact data for a particular Request:
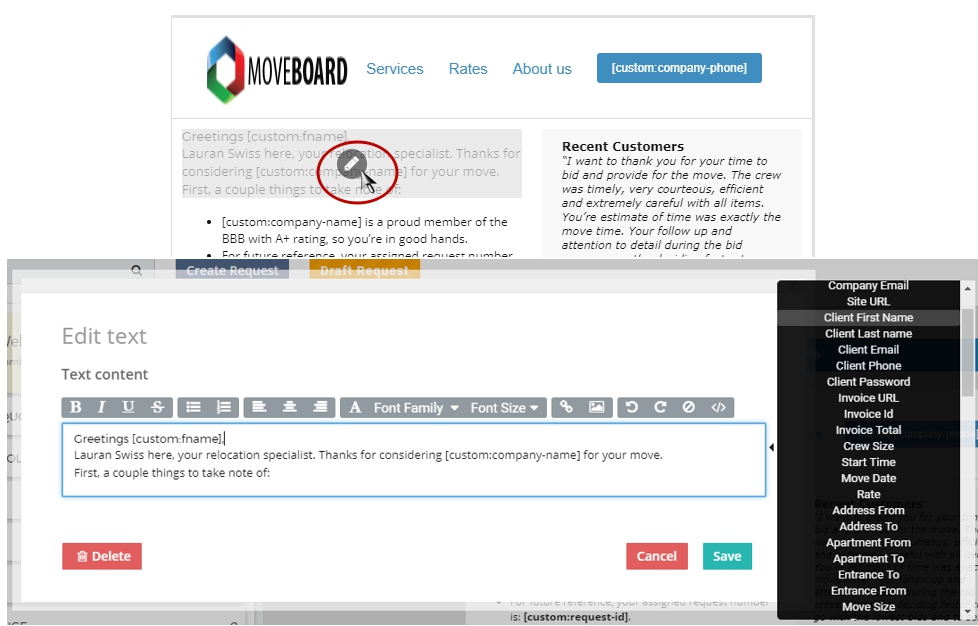

NOTE: This is how Email Template Variables work in the Email you send to your Client:
- change the order of the blocks by clicking on the button as it is shown in the picture below:

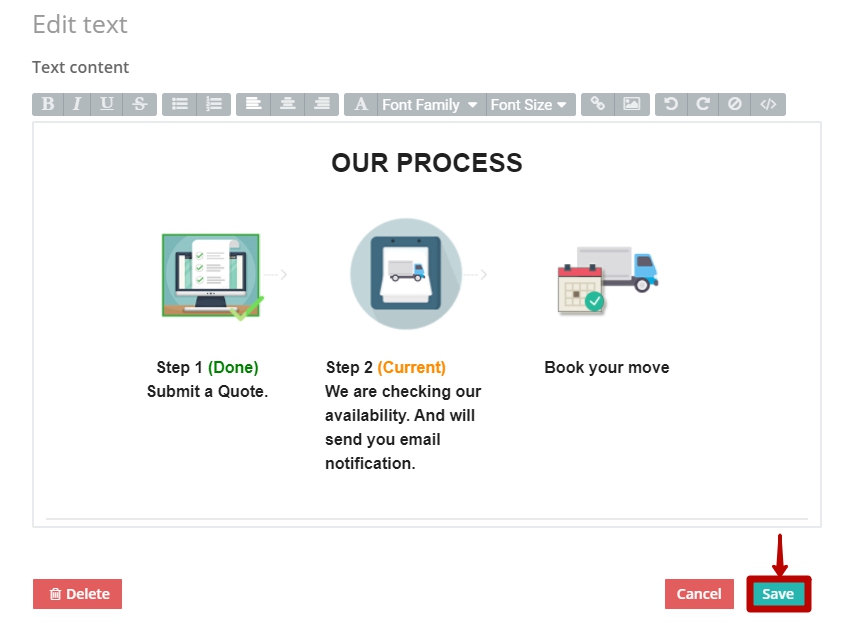
- add any pictures to any parts of a Template to make it brighter and provide your Clients with visual support of your working process, for instance:
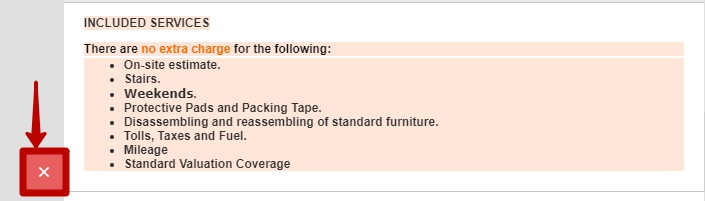
- remove the blocks you do not need by clicking on the button as it is shown below:
In the MoveBoard all these actions look like as follows: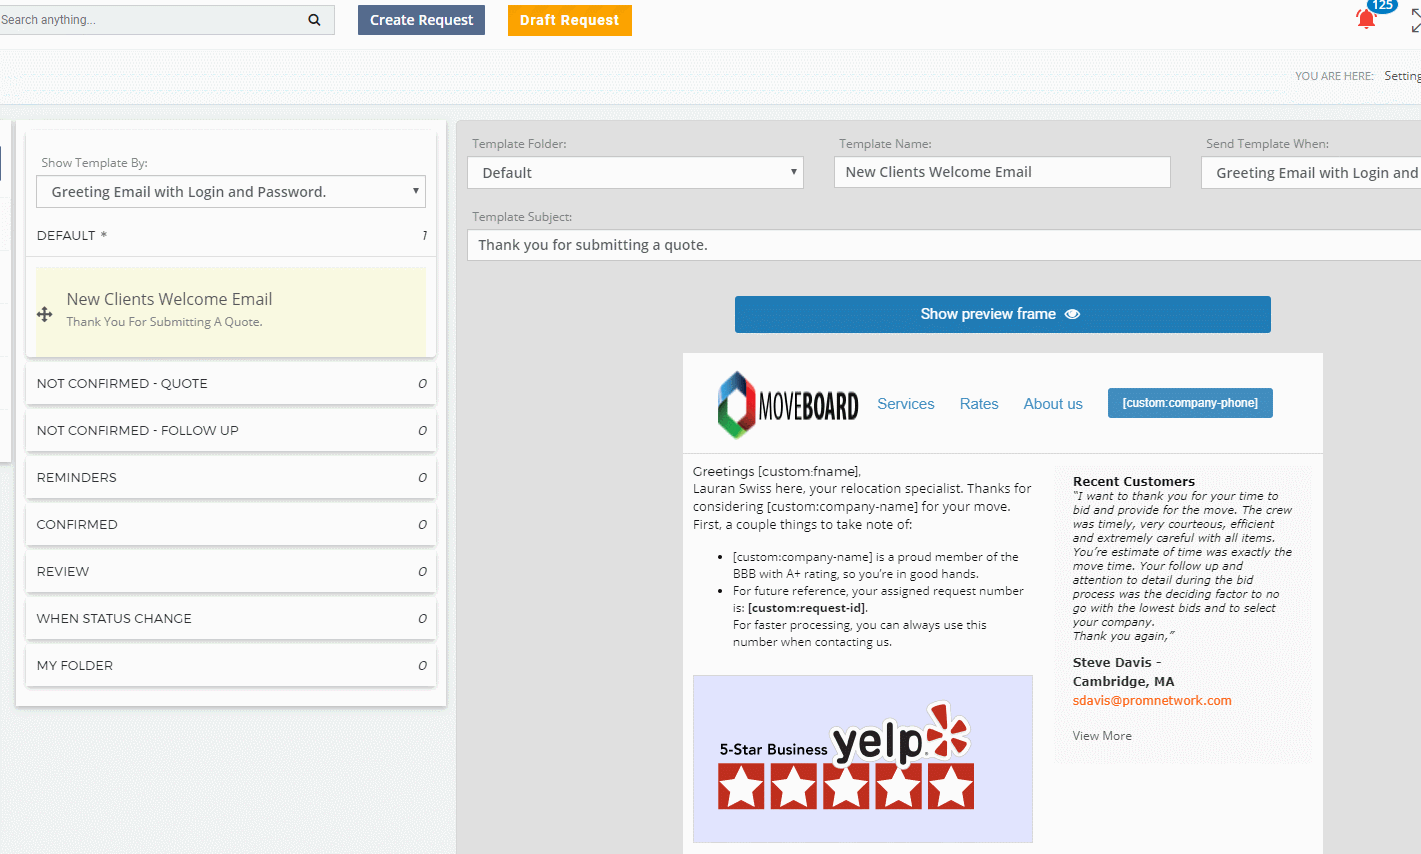
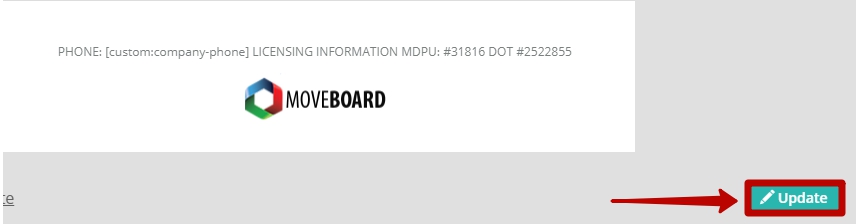
![]() NOTE: If you make any changes DO NOT FORGET to click on Update at the bottom of the page:
NOTE: If you make any changes DO NOT FORGET to click on Update at the bottom of the page:
![]() NOTE: At the very bottom of the page you can also click on Copy and Create New Template on the basis of the one above.
NOTE: At the very bottom of the page you can also click on Copy and Create New Template on the basis of the one above.
In this case, make all the changes in the content and settings of a new Template and click on Create:
Blocks
This is basically a database of all your blocks divided into Headers, Contents and Footers:
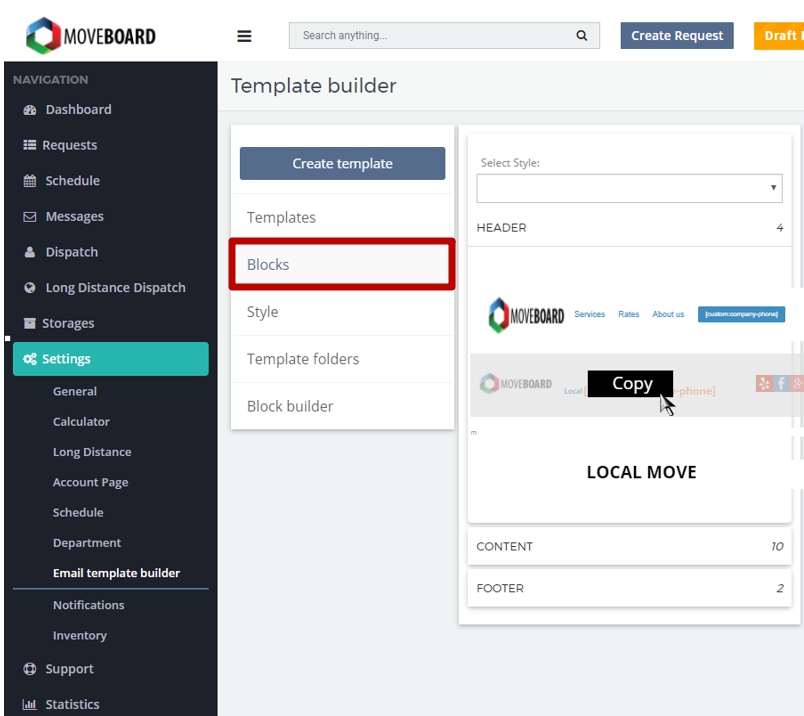
You use this tab when Creating New Templates or Editing the already existing ones (to learn more read How to Create your own Template).
Choose and insert the Blocks into the Templates by clicking on Copy. In the end, DO NOT FORGET to click on Update:
Template Folders
In this tab you can Create new folders, Edit or Remove the already existing ones:
NOTE: To learn more you can read Template Folders.
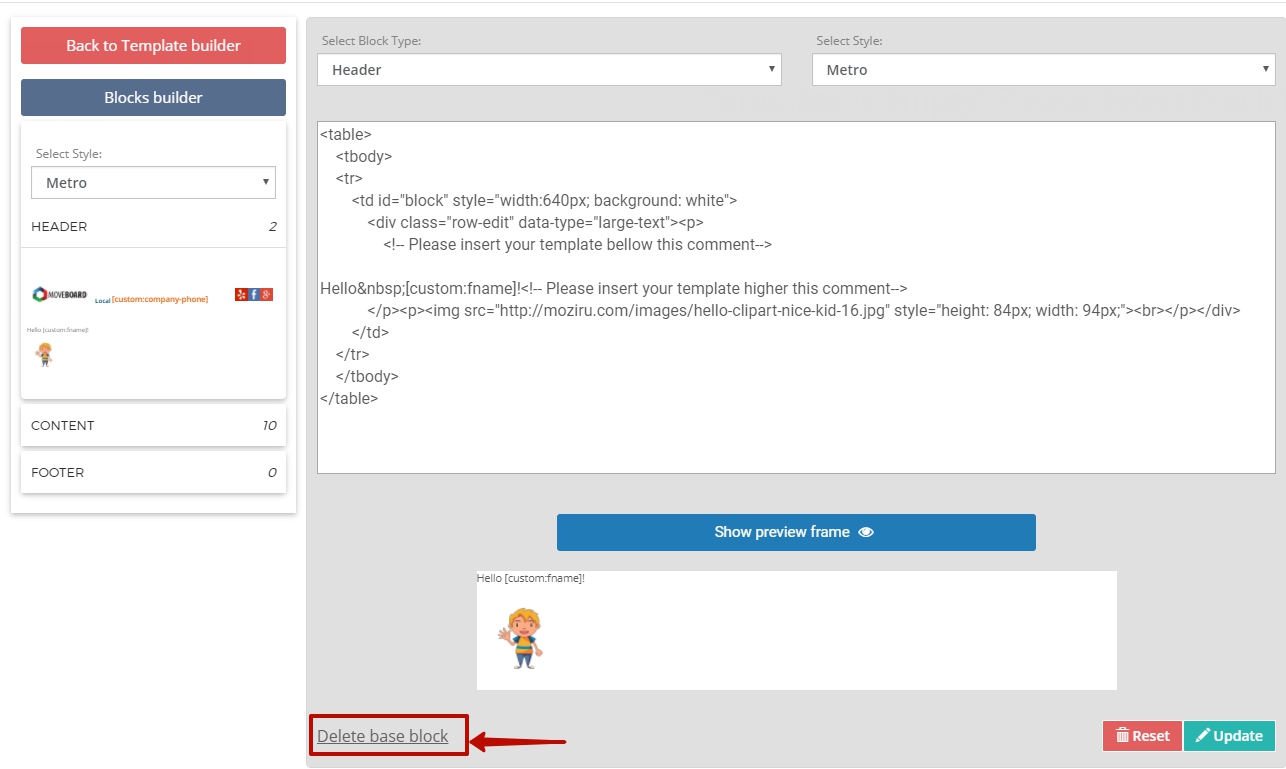
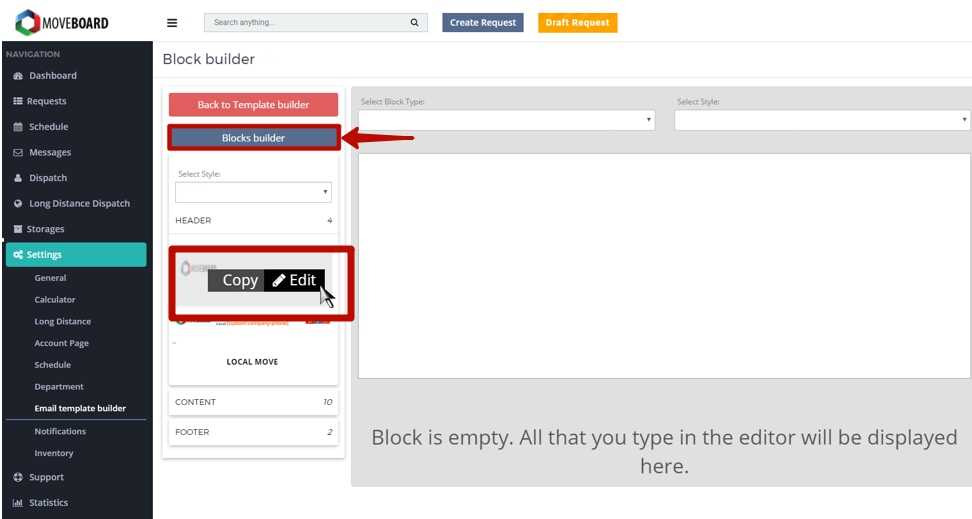
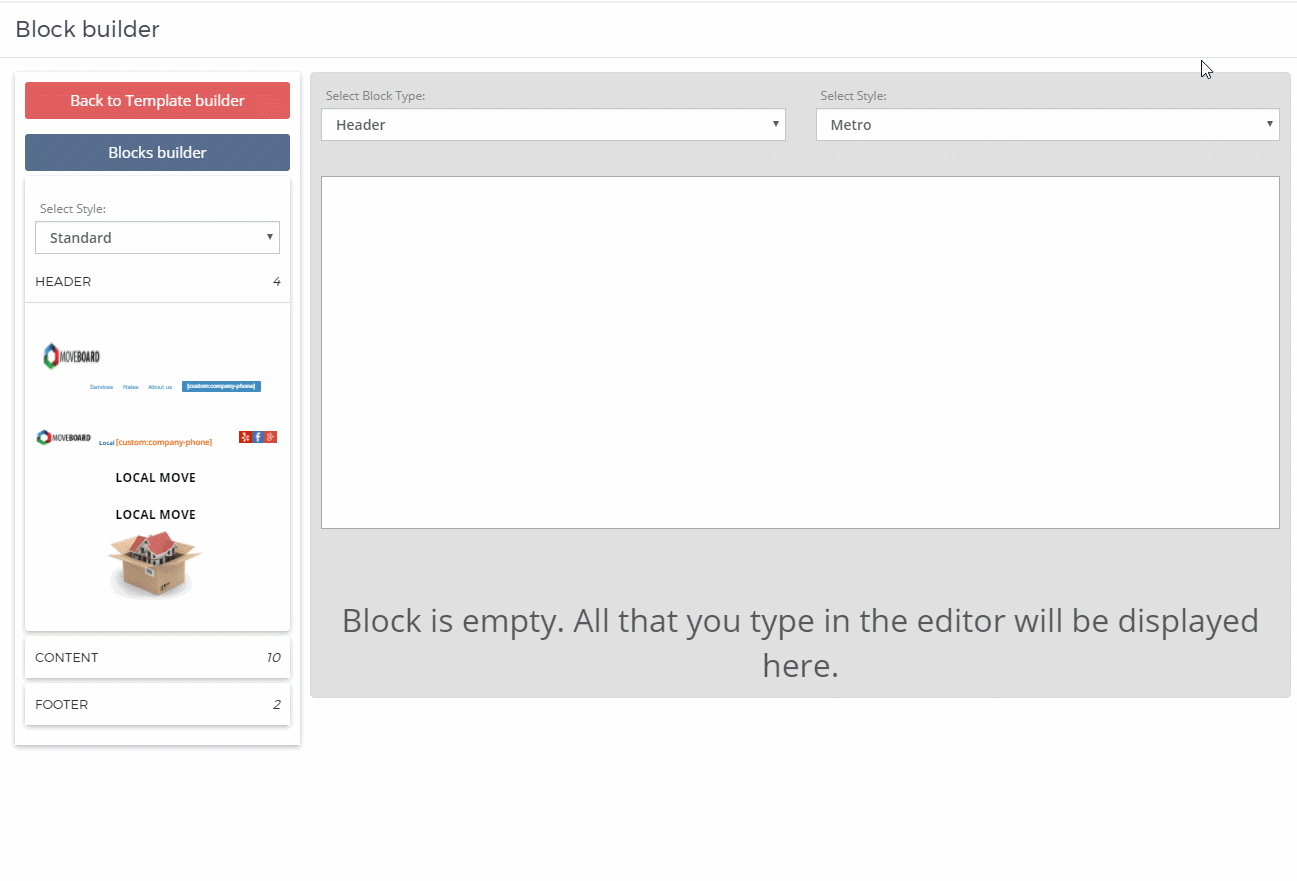
Block Builder
In this tab you can:
- Edit the already existing blocks by choosing the one you need and clicking on Edit:
You can Select Block Type, Select Style, make changes in the content of the Block. DO NOT FORGET to Update all your changes:
- Create New Blocks on the basis of the already existing ones:
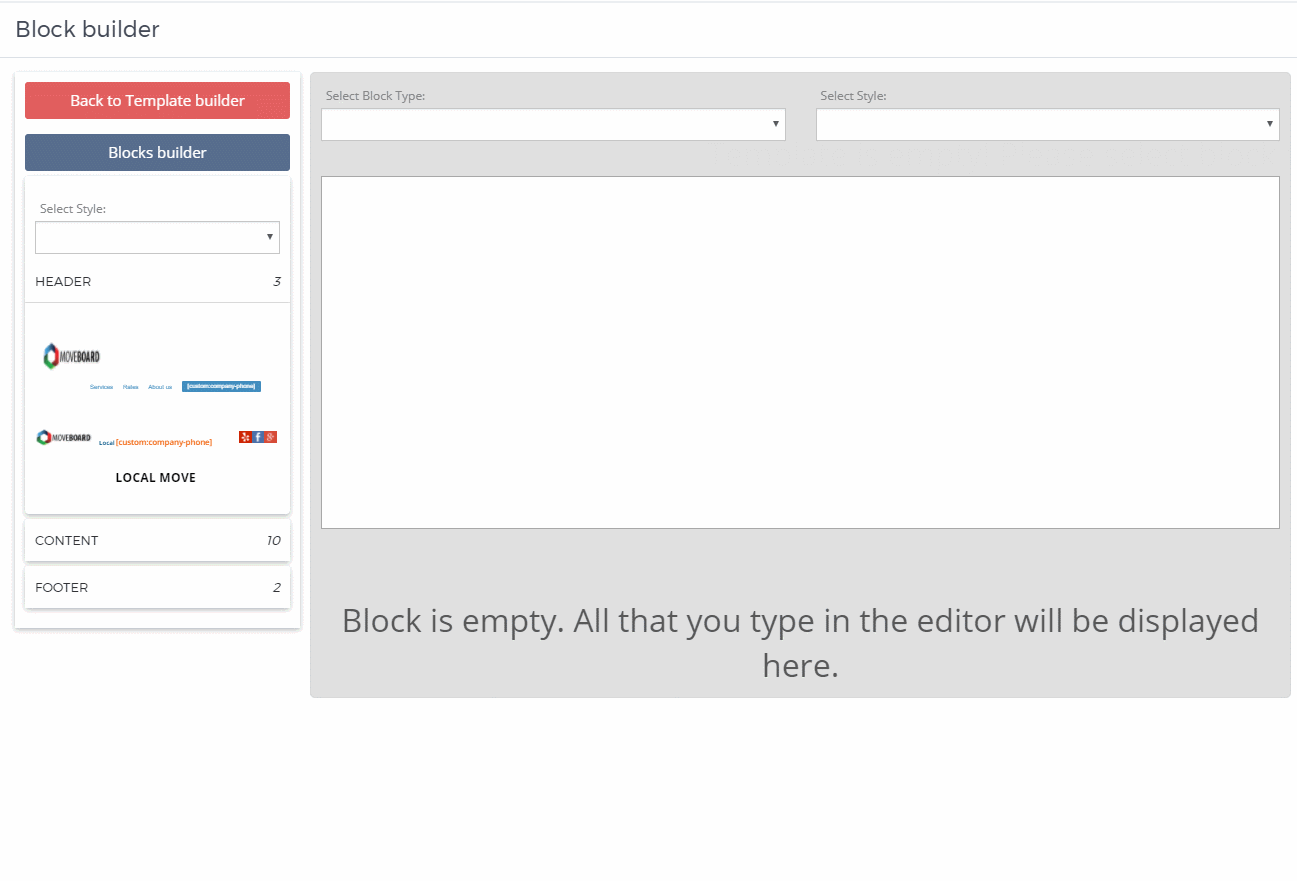
- Create New Blocks from the very beginning:
- Delete the Blocks if you do not need them anymore.
4.1. Find the block you need;
4.2. Click on Edit;
4.3. Click on Delete Base Block: