In the system you will find a well-designed Inventory which can be added to a Request both from MoveBoard and a Client’s Account Page.
 Inventory Settings
To make settings for the Inventory you should go to Settings > Inventory:
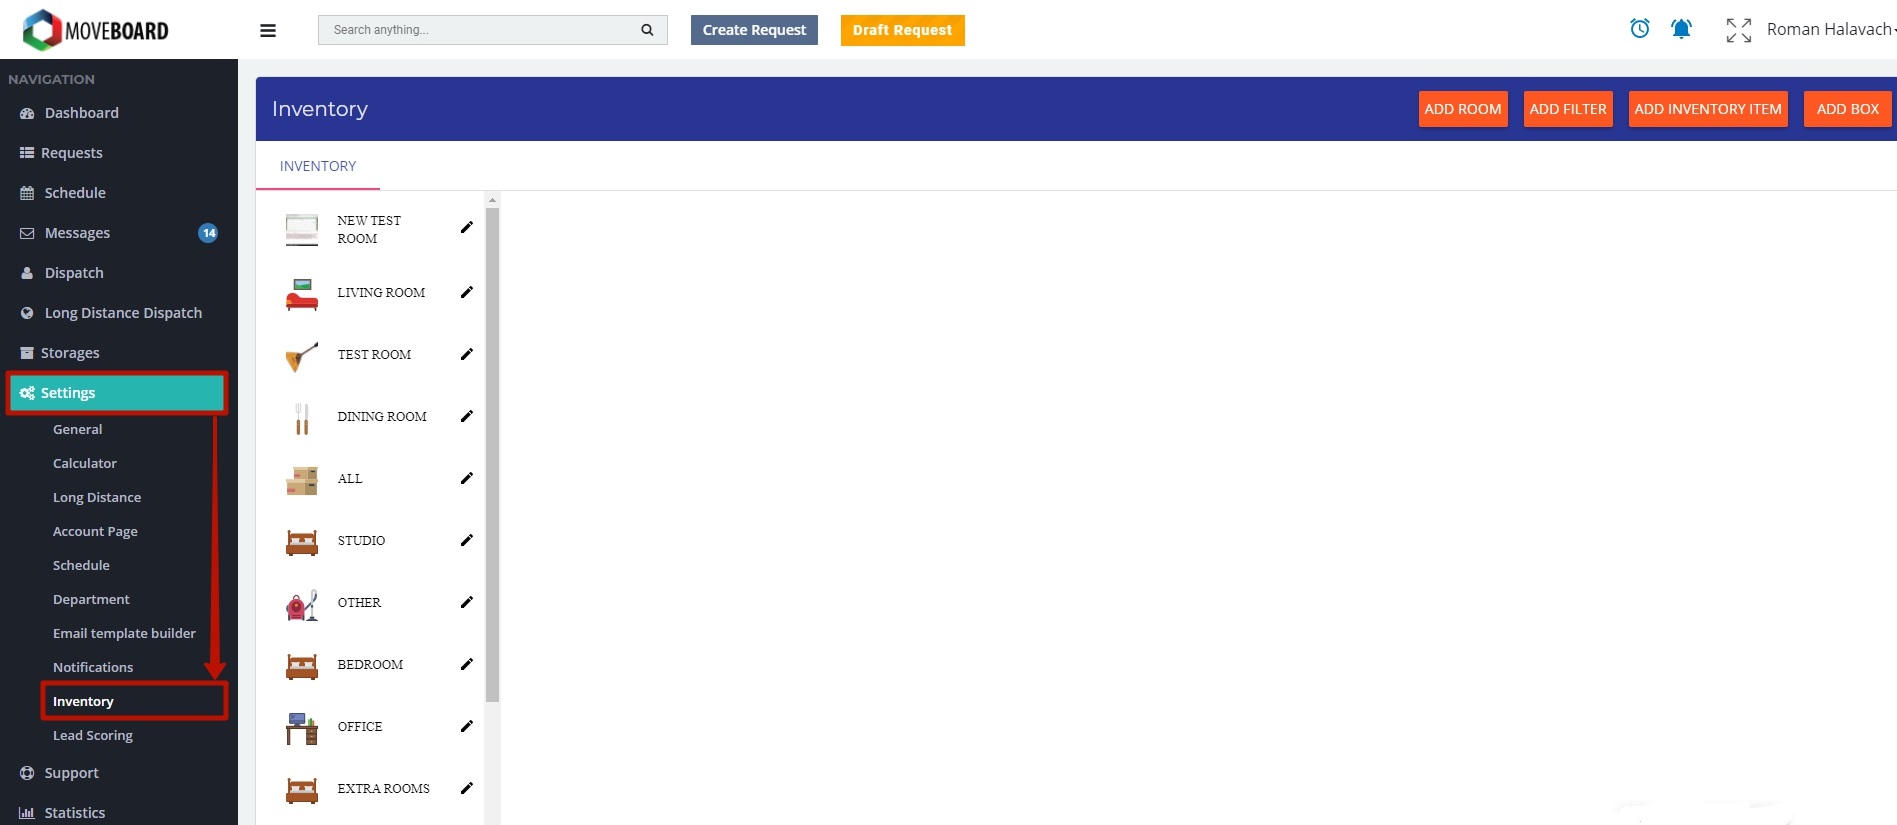
Here you can add your own:
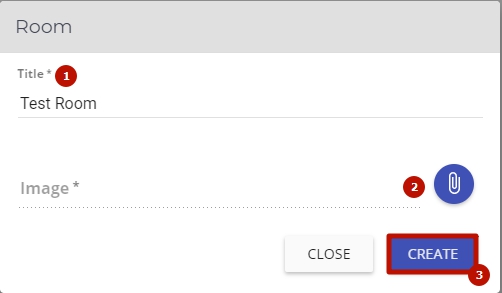
- Room (add the title, image, click on CREATE):
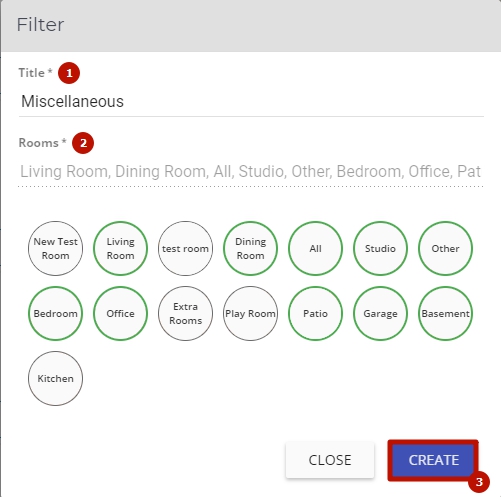
- Filter (add the title, choose the rooms for the filter, click on CREATE):
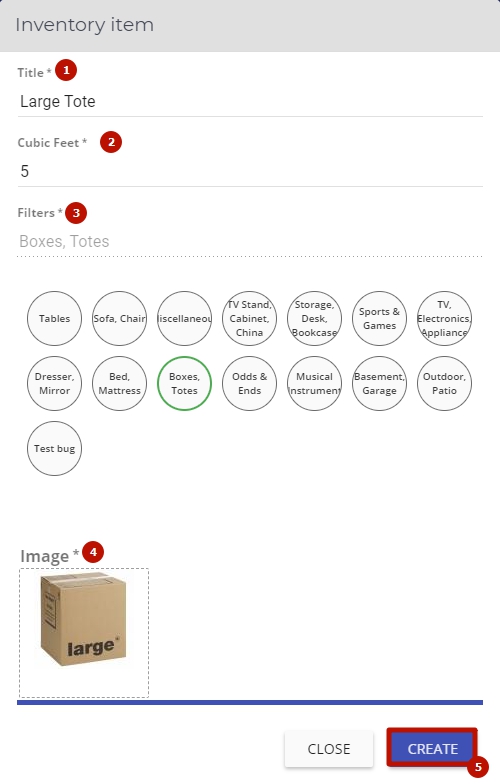
- Inventory Item (add the title, cubic feet, extra service name / extra service fee (if needed), filters, image, click on CREATE):
- Box (add the title, cubic feet, choose the necessary filters, image, click on CREATE):
 NOTE: In Settings > Inventory you can:
- edit the rooms (change their title or image);
- create a new filter right in the room and apply it to other rooms if needed;
- edit or remove a filter:
- you can also edit any item you need:
 How the Inventory works
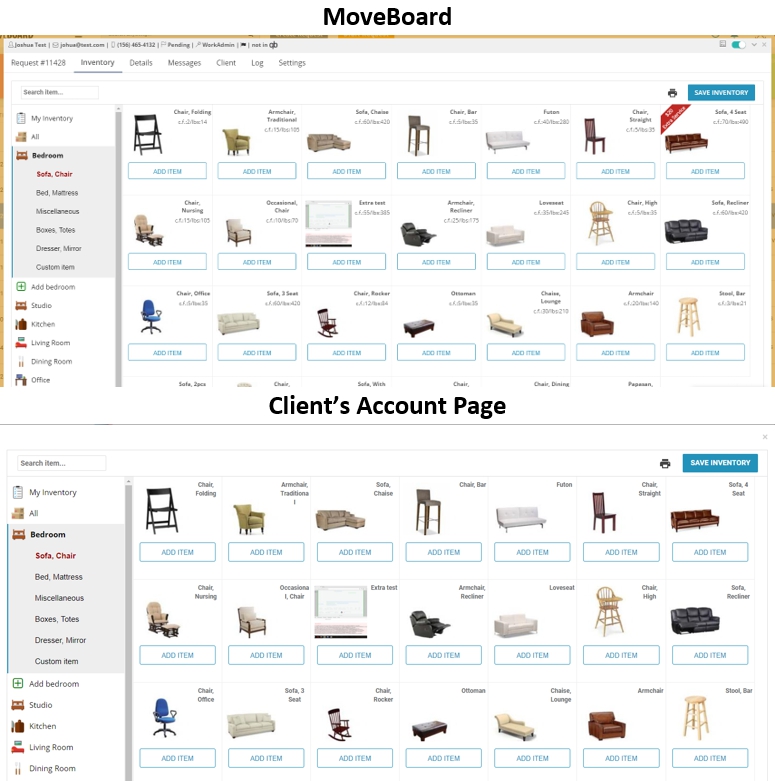
Your Clients on their Account Page share almost the same functions and view of the Inventory compared to yours in MoveBoard (for instance, your Clients do not see the volume of items).
Compare:
![]() When the items are added to the list, they can be managed in a preferable way and transferred to other rooms as it is shown below:
When the items are added to the list, they can be managed in a preferable way and transferred to other rooms as it is shown below:
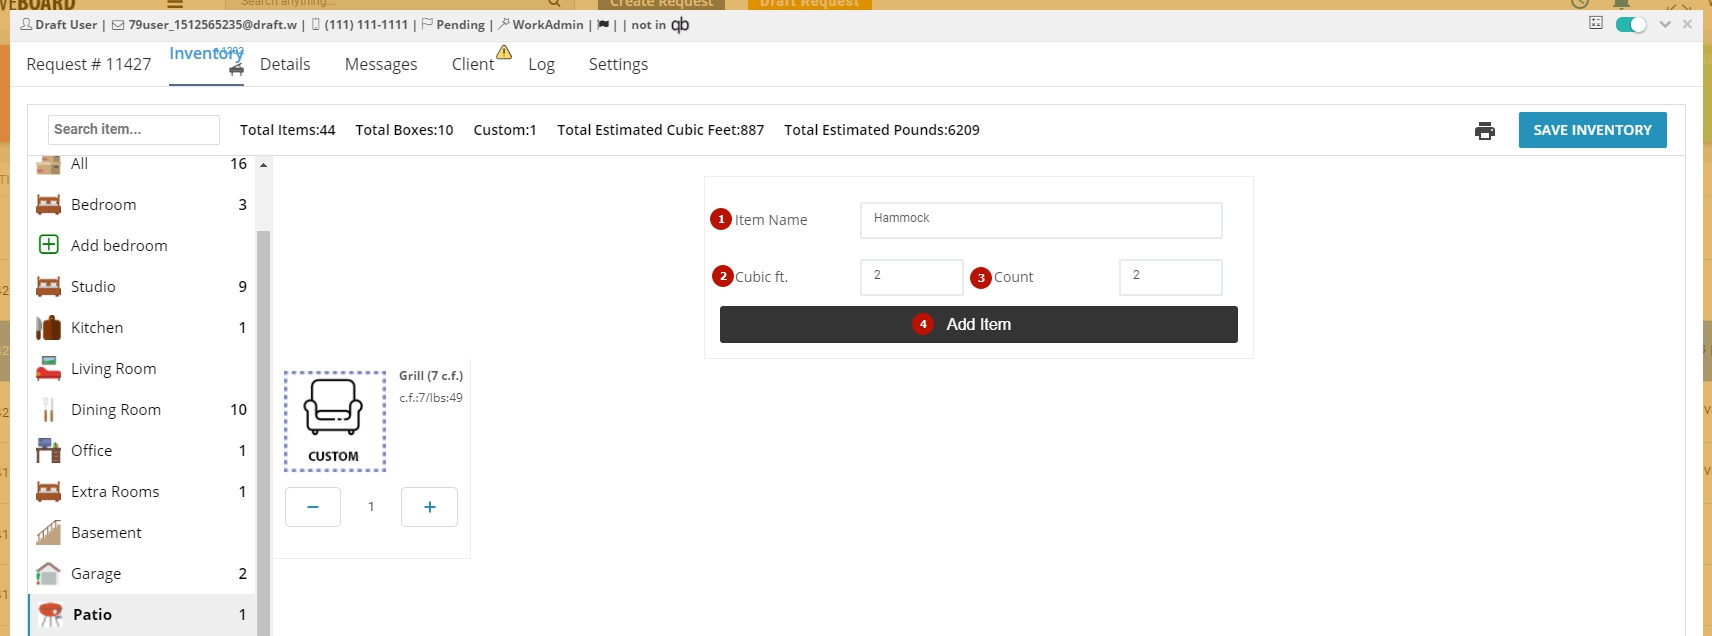
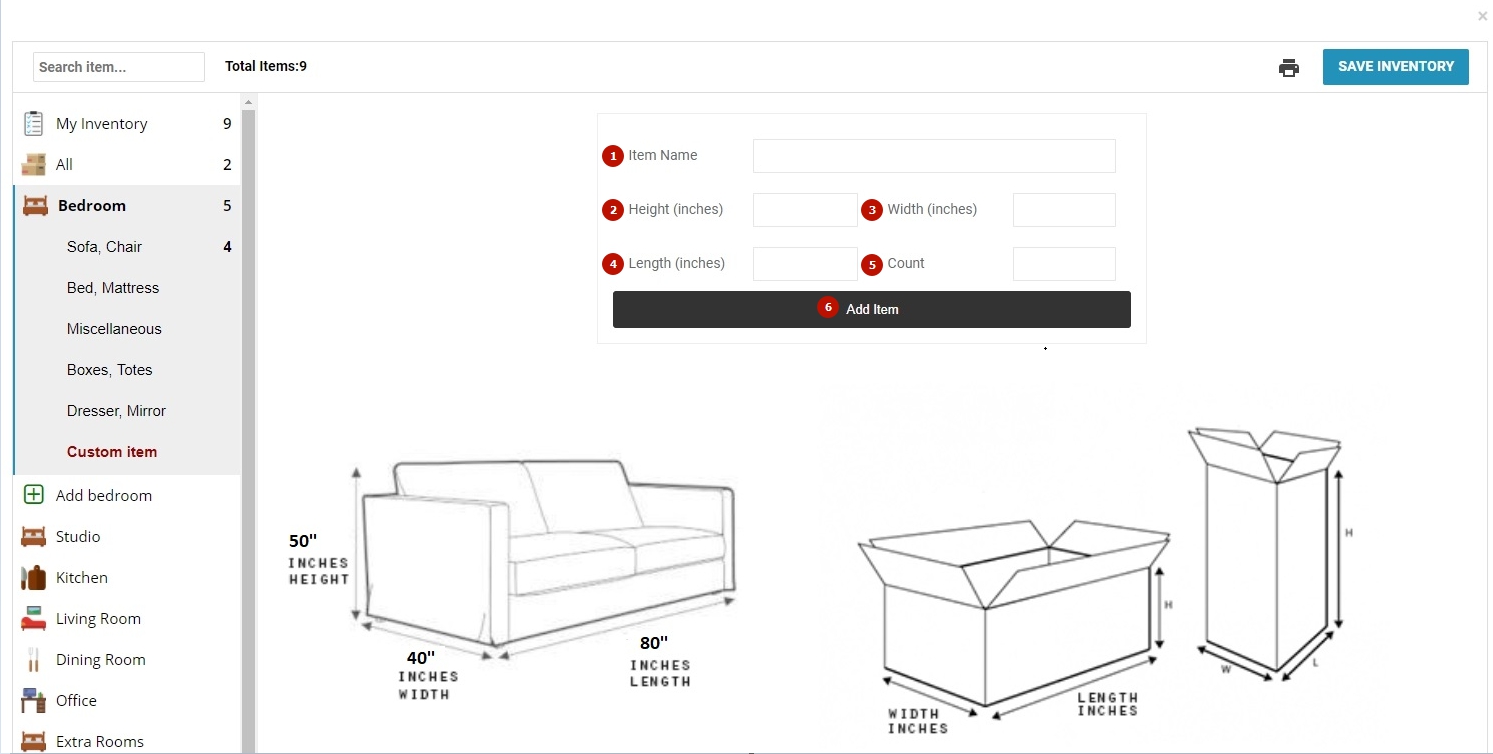
![]() There is a possibility to add a Custom Item to each room:
There is a possibility to add a Custom Item to each room:
Your Clients have a slightly different view of the table on their Account Page:
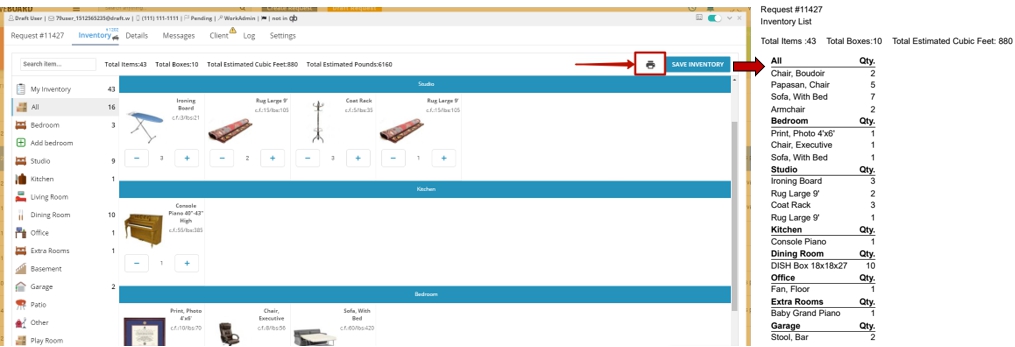
![]() When the Inventory is added the Inventory List can be printed:
When the Inventory is added the Inventory List can be printed:
 An additional Bedroom or a Custom Room can be added to the Inventory both in MoveBoard and on a Client’s Account Page: