Getting your Moveboard setup with text messaging is easy and can be completed in a few, simple steps!

- Go to the SMS settings from the Navigation Panel. Click on the settings on the left hand side of the Navigation Panel, and then select “SMS Settings.”
- There is a slider at the top of the settings page that says “Enable SMS,” slide it to the right and now SMS will be enabled.
- After enabling SMS, you will need to purchase both SMS credits and a phone number. There will be a box labeled SMS statistic and at the bottom, you will see “Buy SMS” and “Buy a phone number.” You will purchase both the credits and the phone number, so select that option, and then you will be taken to a page to select an area code, and then you will be shown a list of all available phone numbers within that area code.
- Then you will pay for your phone number and your credits. The minimum is a $50 credit to get started. You can choose to also set-up an auto-recharge for your SMS credits as well when your balance gets below $10.
- You can also enable call forwarding as well. To do that, you will move the slider to the right where it says “Enable call forwarding.” After you do that, you will add in the call forwarding number. If you do not add a new forwarding number, but enable forwarding, it will automatically forward to the number that is listed in your Moveboard under General Settings.
- The next step to setting up SMS is to review and setup the SMS templates. There are 13 client (customer) templates and 1 template for the foreman.
- Go thru each of the pre-made templates, and edit the text as needed. If you want to add in variables (client name, move date, your company name, etc) then just click in the box and the variable selection will appear. You can add in the variables and then when the SMS is sent, the variable will be filled in. For example, if you select:
Hello [custom:fname]
And the customer’s first name is listed as John on the request, the text will send as:
Hello John,
- Slide your SMS templates to Active for the ones that you would like to use. Your Moveboard will now be set up with the templates and ready to use.
How to use SMS in your Moveboard
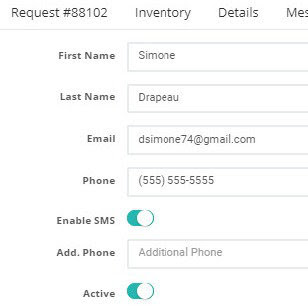
You now have your Moveboard set up with SMS so the templates will automatically send based on the automation rules in the settings. If you do not want SMS to go to an individual client, you can turn off the SMS for a specific request. When you are on the client tab, there is an option to enable or disable SMS for that user.
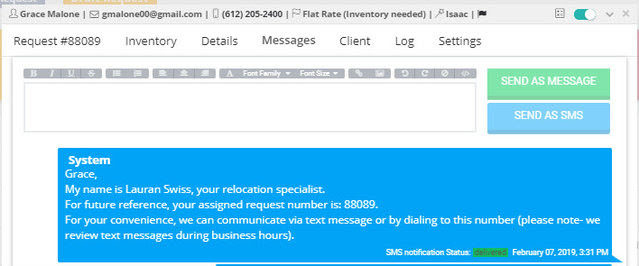
You can see the SMS that have been sent to the customer on each individual request in the log:

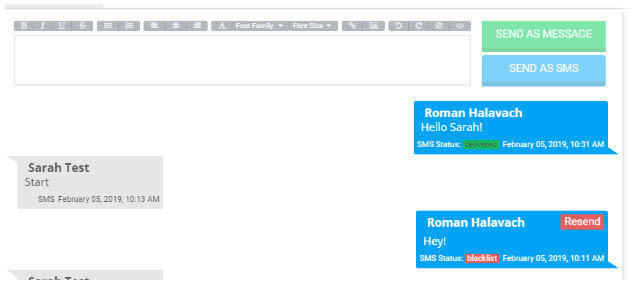
Or from the messages tab:
There will be both SMS and Instant messages shown here. The breakdown is as follows:
SMS:
Sent to customer: Blue
Received from customer: Grey
Instant Messages:
Sent to customer: Green
Received from customer: Yellow

A few key points:
- Our system can identify the type of phone that was added. For example, we can identify land-line, VOIP, or cell phone.
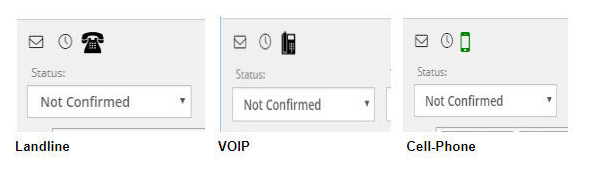
- SMS messages can be sent to both VOIP and Cell-Phones, but not to landlines.
Valid Phone Number:
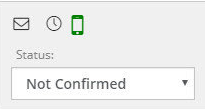
- Once the request was created with a phone number added, you can verify that the phone number is valid from the request tab. There will be a green cell phone icon next to the remind clock.
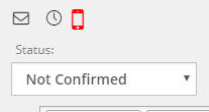
Invalid Phone Number:
- There are a few places on the request that will alert you if the phone number is invalid. On the main request page, next to the reminder clock, a cell-phone icon will be displayed. If it is red the number is invalid.
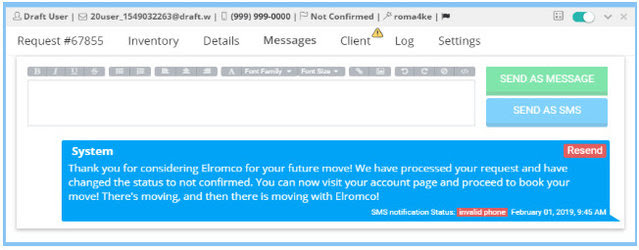
- In the messages tab, you will also see that the notification status is invalid phone. And it will give you the option to re-send once you have updated the phone number.
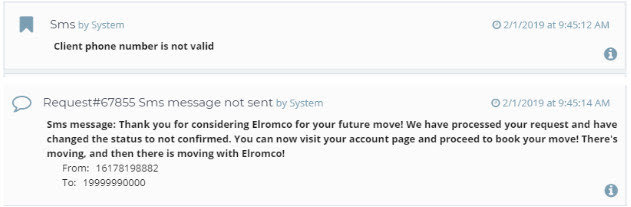
- In the log, you will see both a notification that the client phone number is not valid and that the message was not sent.
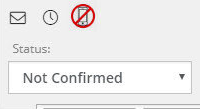
Unsubscribe:
- If your customer has texted back “Stop” in response to one of the messages that was sent, then the system will no longer send any future messages to that number. You will now see this updated in 2 places.
- On the request tab, you will see that the phone icon is now grayed out with a blocked icon displayed.
- On the messages tab, you will also see that the customer has messaged back “Stop.”
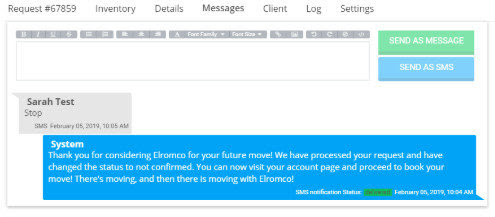
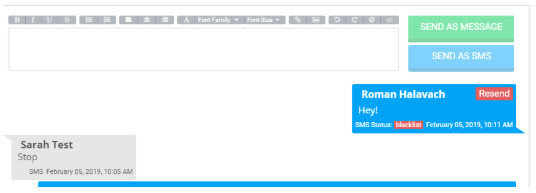
- If you try to send any future messages after the customer has unsubscribed, you will see that the messages are coming up as “blacklist” and they will not be sent.
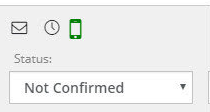
Re-subscribe:
- If the customer re-subscribes to receive messages again, you will see the green cell phone icon again on the main request tab.
- You will also see in the message tab that the user has sent a message to “Start” the messages again. Any subsequent messages will be delivered. You can also now use the “Resend” option.