To set up Rates, follow these simple steps:
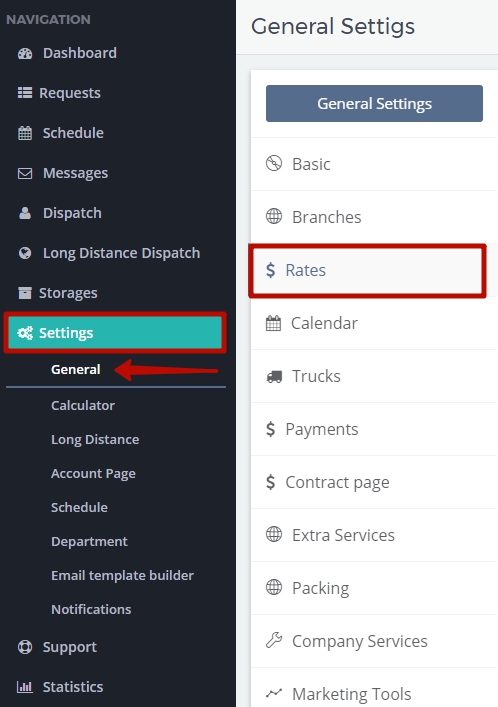
1. Go to Settings > General Settings > Rates:
2. You will see the following box. By default the system suggests 5 types of hourly rates (Discount / Regular / SubPeak / Peak / HighPeak) for 2-4 movers and a truck + an additional mover and an additional truck per hour. By putting a tick next to the types of hourly rates or the number of movers + Truck / hr you choose what kinds of rates and services you actually offer and make necessary Settings for each line and column:
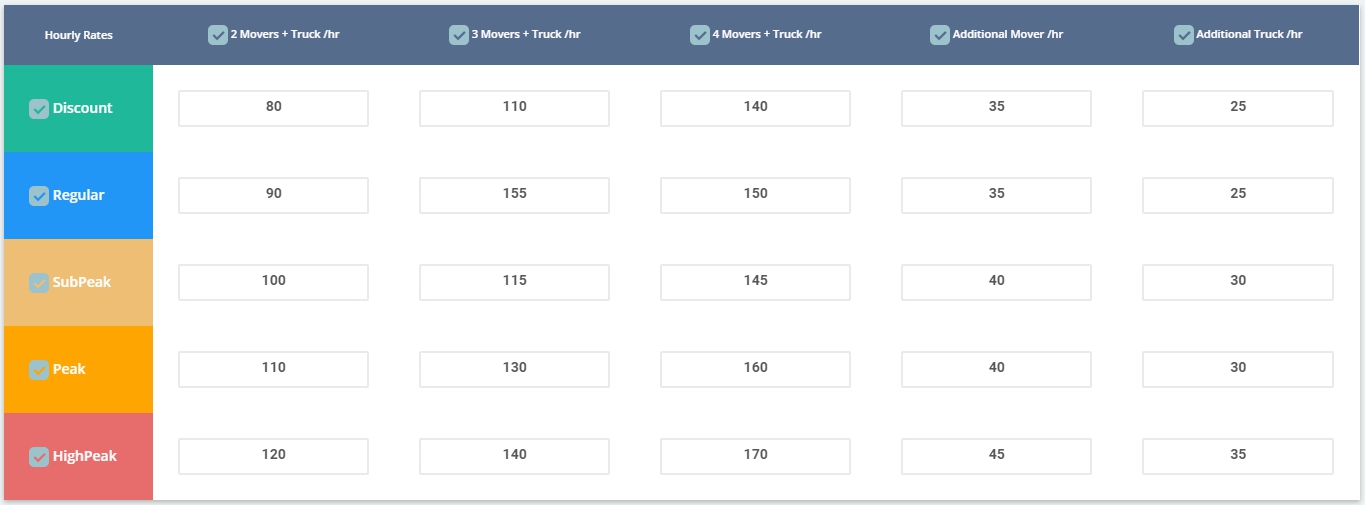
 What is the difference between Hourly Rates?
- Discount: it is a good idea to give discounts on the days that are not very popular for moving, as a rule, in the middle of a month, or when you do not have any moves at all.
- Regular: you apply regular rates to the days when your schedule is not partiqularly busy.
- SubPeak: it is applied on the days when you have got more jobs than usual.
- Peak: you can use this kind of rate when your have a lot of work to do or at the weekends when there are more clients who want to move.
- HighPeak: this rate is used when your schedule is super busy. It is especially popular on the 1st and the last days of a month, so you can make them HighPeak and, as a result, get more money.
3. To apply the necessary Rates to the days you want go to Settings > General Settings > Calendar:
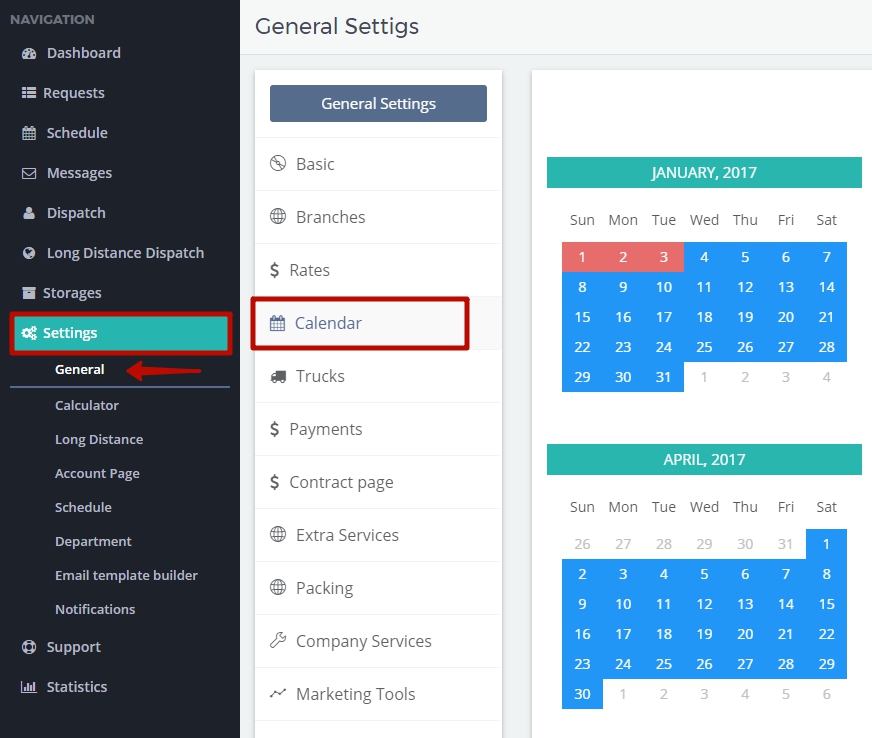
4. Find the necessary month and click on the date you need. In the pop-up menu the rates will be displayed. Choose the rate as it is shown below:

NOTE! You can also Block the days when, for example, you do not work or when you are fully booked. If you need it click on the necessary date and choose ‘X Block This Day’. This is how you see your calendar in this case:
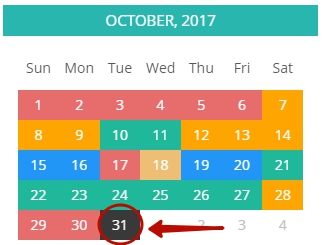
Congratulations! The job is done. 
 Pay attention to how the customer will view the Rates in the calendar when requesting a quote on your website:
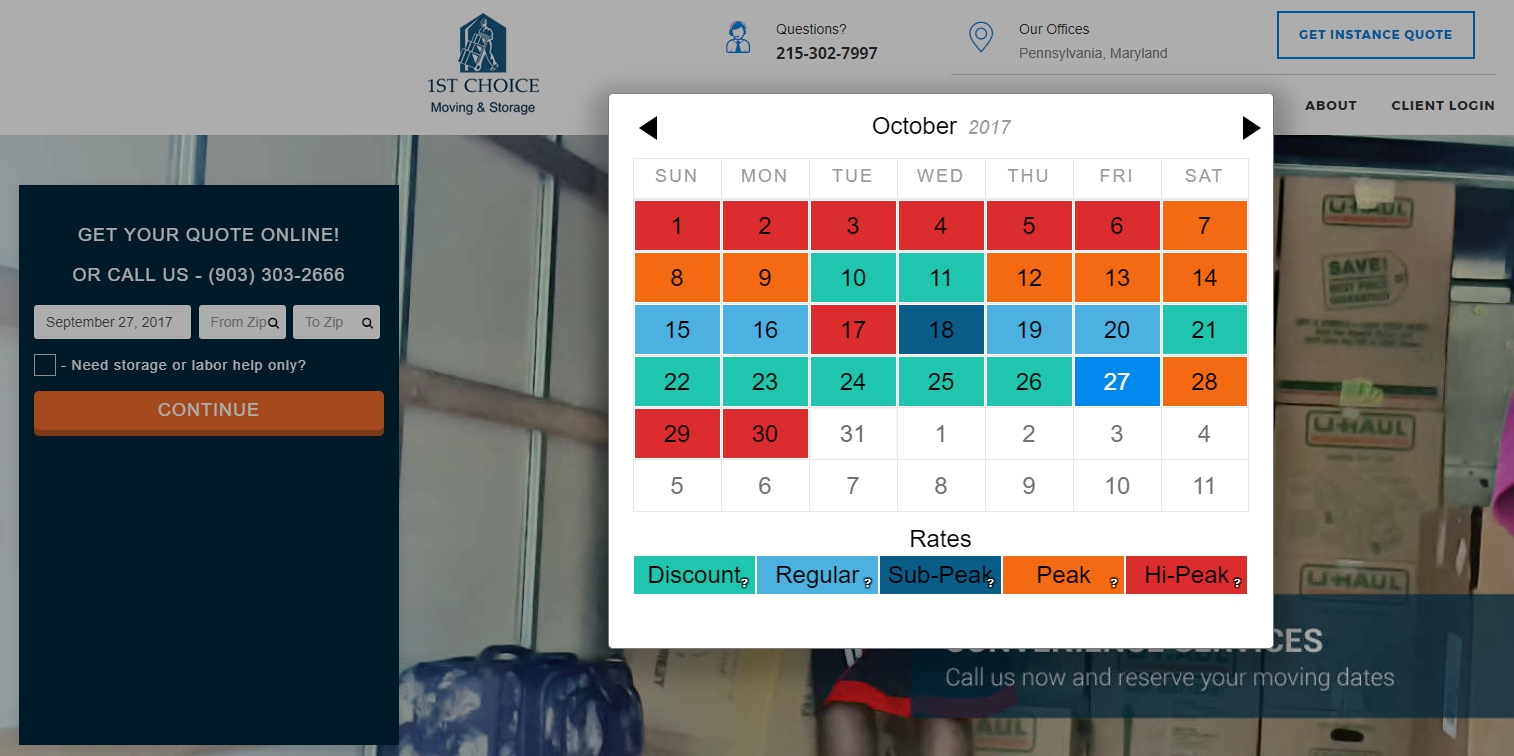
NOTE! If you want your customers to see the price for each rate on your website right away when they place the mouse pointer on the icon of the rates like this
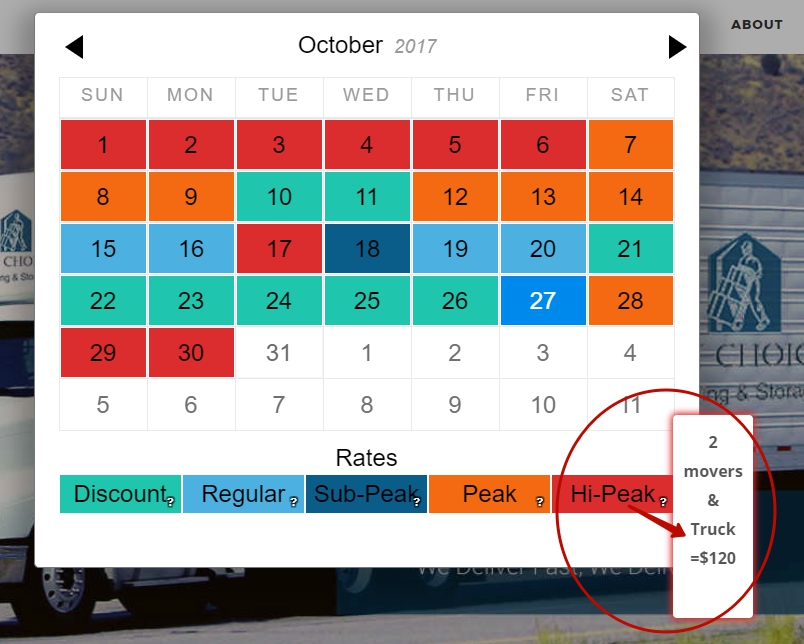
do the following:
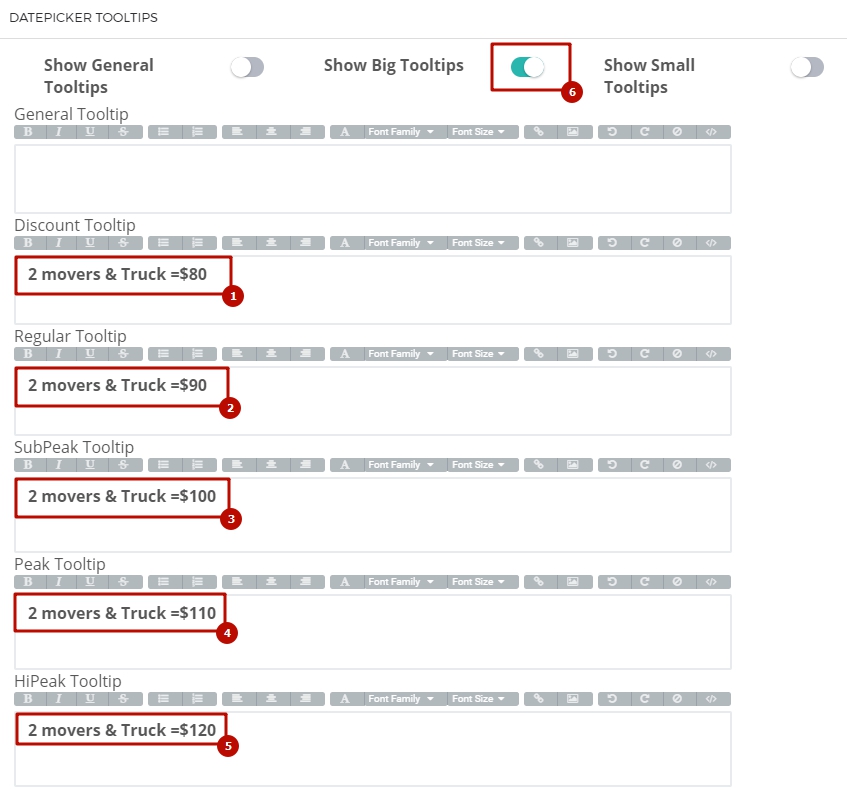
1. Go to Settings > Calculator > Form Style > scroll down to DATEPICKER TOOLTIPS and click on them:
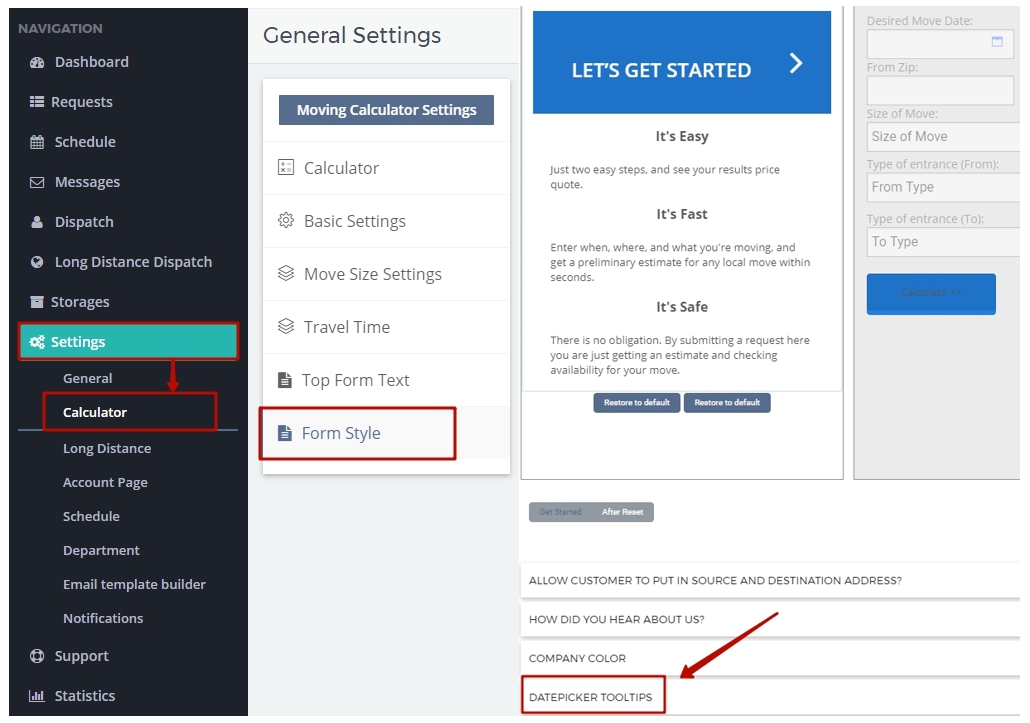
2. Enter all the necessary information and choose one of the three options what kind of Tooltips you want to see on your website:
